Creating a video player in React might seem like a challenging task. But with the right tools and techniques, you can do so with relative ease.
There are two ways to create a video player in React: using built-in features and using third-party libraries.
Creating a Video Player in React
Before creating a React video player, make sure you have a basic understanding of HTML, CSS, and JavaScript.
Start by creating a basic React app to add the following video player functionality to.
Using Built-In Features (React Hooks)
The first option to create a video player in React is to use built-in features.
Start by creating the player component which will display the video and all of its controls. To do this, create a file called “Player.js” and add the following code:
        import React from 'react';

const Player = () => {
    return (
        <div>
            <video width="100%" height="100%" controls>
                <source src="http://commondatastorage.googleapis.com/gtv-videos-bucket/sample/BigBuckBunny.mp4" type="video/mp4" />
            </video>
        </div>
    )
}

export default Player;
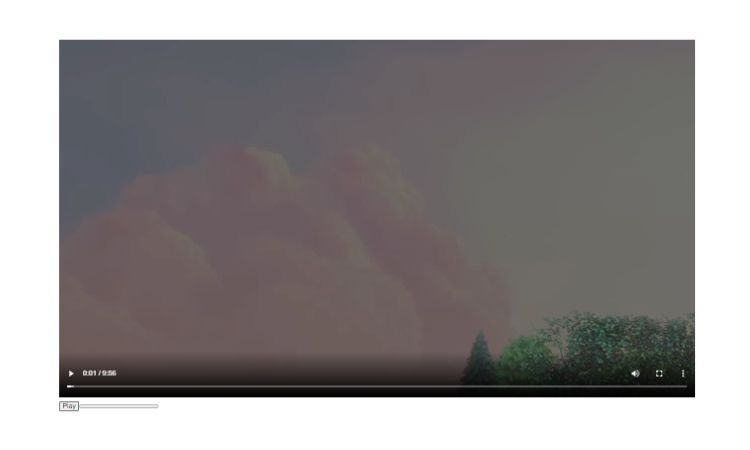
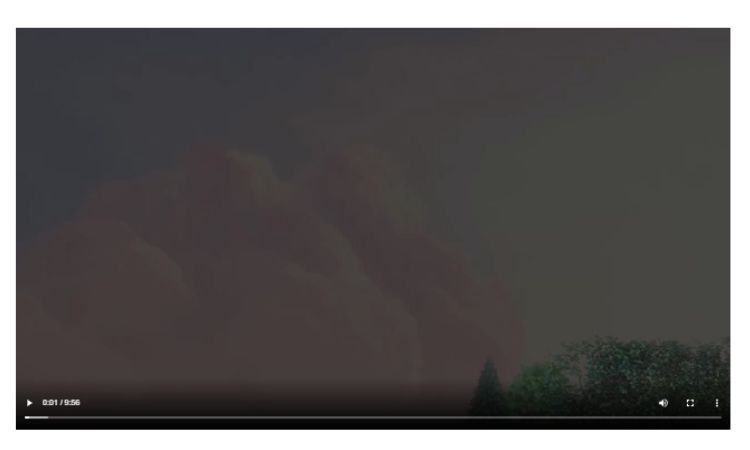
This code imports the React library and creates a player component. It also adds a video element with the controls attribute set to “true”. This will add the basic video player to the page.
Next, add the play/pause button. To do this, you’ll need to add a few lines of code to the player component. Add the following code to the Player.js file:
        import React, { useState, useRef } from 'react';

const Player = () => {
    const [isPlaying, setIsPlaying] = useState(false);
    const videoRef = useRef(null);

    const togglePlay = () => {
        if (isPlaying) {
            videoRef.current.pause();
        } else {
            videoRef.current.play();
        }
        setIsPlaying(!isPlaying);
    };

    return (
        <div>
            <video
                ref={videoRef}
                width="100%"
                height="100%"
                controls
            >
                <source src="http://commondatastorage.googleapis.com/gtv-videos-bucket/sample/BigBuckBunny.mp4" type="video/mp4" />
            </video>
            <button onClick={togglePlay}>
                {isPlaying ? "Pause" : "Play"}
            </button>
        </div>
    )
}

export default Player;
This code uses the useState and useRef hooks to keep track of the state of the video (whether it’s playing or paused) and the reference to the video element. It also adds a togglePlay function that will play and pause the video. The button element will trigger the togglePlay function.
The last step is to add the progress bar. To do this, you’ll need to add a few more lines of code to the Player.js file. Add the following:
        import React, { useState, useRef } from 'react';

const Player = () => {
    const [isPlaying, setIsPlaying] = useState(false);
    const [progress, setProgress] = useState(0);
    const videoRef = useRef(null);

    const togglePlay = () => {
        if (isPlaying) {
            videoRef.current.pause();
        } else {
            videoRef.current.play();
        }
        setIsPlaying(!isPlaying);
    };

    const handleProgress = () => {
        const duration = videoRef.current.duration;
        const currentTime = videoRef.current.currentTime;
        const progress = (currentTime / duration) * 100;
        setProgress(progress);
    };
    return (
        <div>
            <video
                onTimeUpdate={handleProgress}
                ref={videoRef}
                width="100%"
                height="100%"
                controls
            >
                <source src="http://commondatastorage.googleapis.com/gtv-videos-bucket/sample/BigBuckBunny.mp4" type="video/mp4" />
            </video>
            <div>
                <button onClick={togglePlay}>
                    {isPlaying ? "Pause" : "Play"}
                </button>
                <progress value={progress} max="100" />
            </div>
        </div>
    )
}

export default Player;
This code adds the handleProgress function. This function will update the progress bar. It also adds an onTimeUpdate event listener to the video element that will trigger the handleProgress function. Finally, it adds a progress element to the page with the value and max attributes set to the progress and 100 respectively.
Using Third-Party Libraries
The second option to create a video player in React is to use third-party libraries. There are many libraries available, but some of the most popular ones are ReactPlayer and React-media-player.
ReactPlayer
ReactPlayer is a simple, lightweight library that allows you to create a video player with just a few lines of code. To install it, run the following command in your terminal:
npm install react-player
Once installed, you can use it like this:
        import React from 'react';
import ReactPlayer from 'react-player';

const Player = () => {
    return (
        <ReactPlayer
            url="http://commondatastorage.googleapis.com/gtv-videos-bucket/sample/BigBuckBunny.mp4"
            width="100%"
            height="100%"
            controls
        />
    )
}

export default Player;
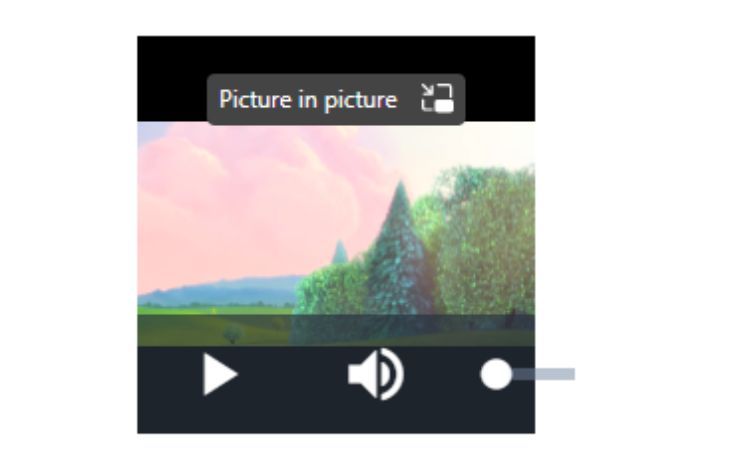
This code imports the ReactPlayer component from the react-player library and adds it to the page. It sets the url, width, height, and controls attributes. Take a look at each of these parameters one by one:
- url: This is the URL of the video you want to play.
- width: This is the width of the video player.
- height: This is the height of the video player.
- controls: This is a boolean attribute that determines whether the video player will have controls or not.
react-video-js-player
react-video-js-player is another simple, lightweight library that allows you to create a video player with just a few lines of code. To install it, run the following command in your terminal:
npm install react-video-js-player
Once installed, you can use it like this:
        import React from "react";
import VideoPlayer from "react-video-js-player";

const Player = () => {
    return (
        <VideoPlayer
            width="100%"
            height="100%"
            src="http://commondatastorage.googleapis.com/gtv-videos-bucket/sample/BigBuckBunny.mp4"
            controls
        />
    )
}

export default Player;
This code imports the VideoPlayer component from the react-video-js-player library and adds it to the page.
Additional Video Player Features
You can add extra features to your video player, such as:
- Adding a poster: You can add a poster image to your video player by setting the poster attribute of the video element to the URL of the image.
- Looping: You can loop your video by setting the loop attribute of the video element to “true”.
- Muted: You can mute your video by setting the muted attribute of the video element to “true”.
- Autoplay: You can autoplay your video by setting the autoplay attribute of the video element to “true”.
You can also add your own custom controls to the video player. To do this, you’ll need to add event listeners to the video element and write functions to control the video.
Increase User Engagement With a Video Player
With the right tools and techniques, you can easily create a video player in React. You can also add additional features to increase user engagement. Media players are a great way to increase user engagement on your website or application.
After adding a video player to your site, make sure to track user engagement to see if it’s having the desired effect. You can also deploy A/B testing to see if adding a video player increases conversion rates.


