Your Android phone can take some fantastic photos, but you'll need to understand basic editing techniques to make the most out of it. Once you've learned the basics of taking better pictures on your Android phone, you're ready to start your editing journey.
This guide gets you started with some simple but powerful tricks for editing your photos. Editing photos is a challenge, but these steps will go a long way toward turning a good photo into a great one. However, we recommend picking up a budget Android tablet if you regularly edit, as your smartphone's small screen can make it difficult to see what you're doing.
Do as little editing as possible
This is the most crucial part of the editing process. Minor errors can be edited out in seconds, but a poorly taken photo remains that way regardless of edits. This is especially important if you haven't progressed to advanced editing tips.
A good photo is essential, but you don't need to be a professional photographer. Take multiple pictures at a time, and pick out the best one from the group. The more photos you take, the better your chance are of getting a perfect shot.
Finally, don't go overboard with your edits. Make a few minor changes at a time rather than one huge one. You may find that all you need is a quick crop. If you struggle to take photos with your phone's camera app, try one of these Android apps for photographers. Some apps offer extensive editing tools alongside the camera feature.
Shoot photos in RAW
Once you've figured out the ins and outs of your camera app, you'll want to enable RAW photos. RAW is an image file like JPEG or PNG containing more information from your camera sensor. If you're wondering why RAW images aren't taken by default, there are two reasons. RAW photos occupy more space, and your phone doesn't apply post-processing. The lack of post-processing means RAW images can look strange for beginner photographers.
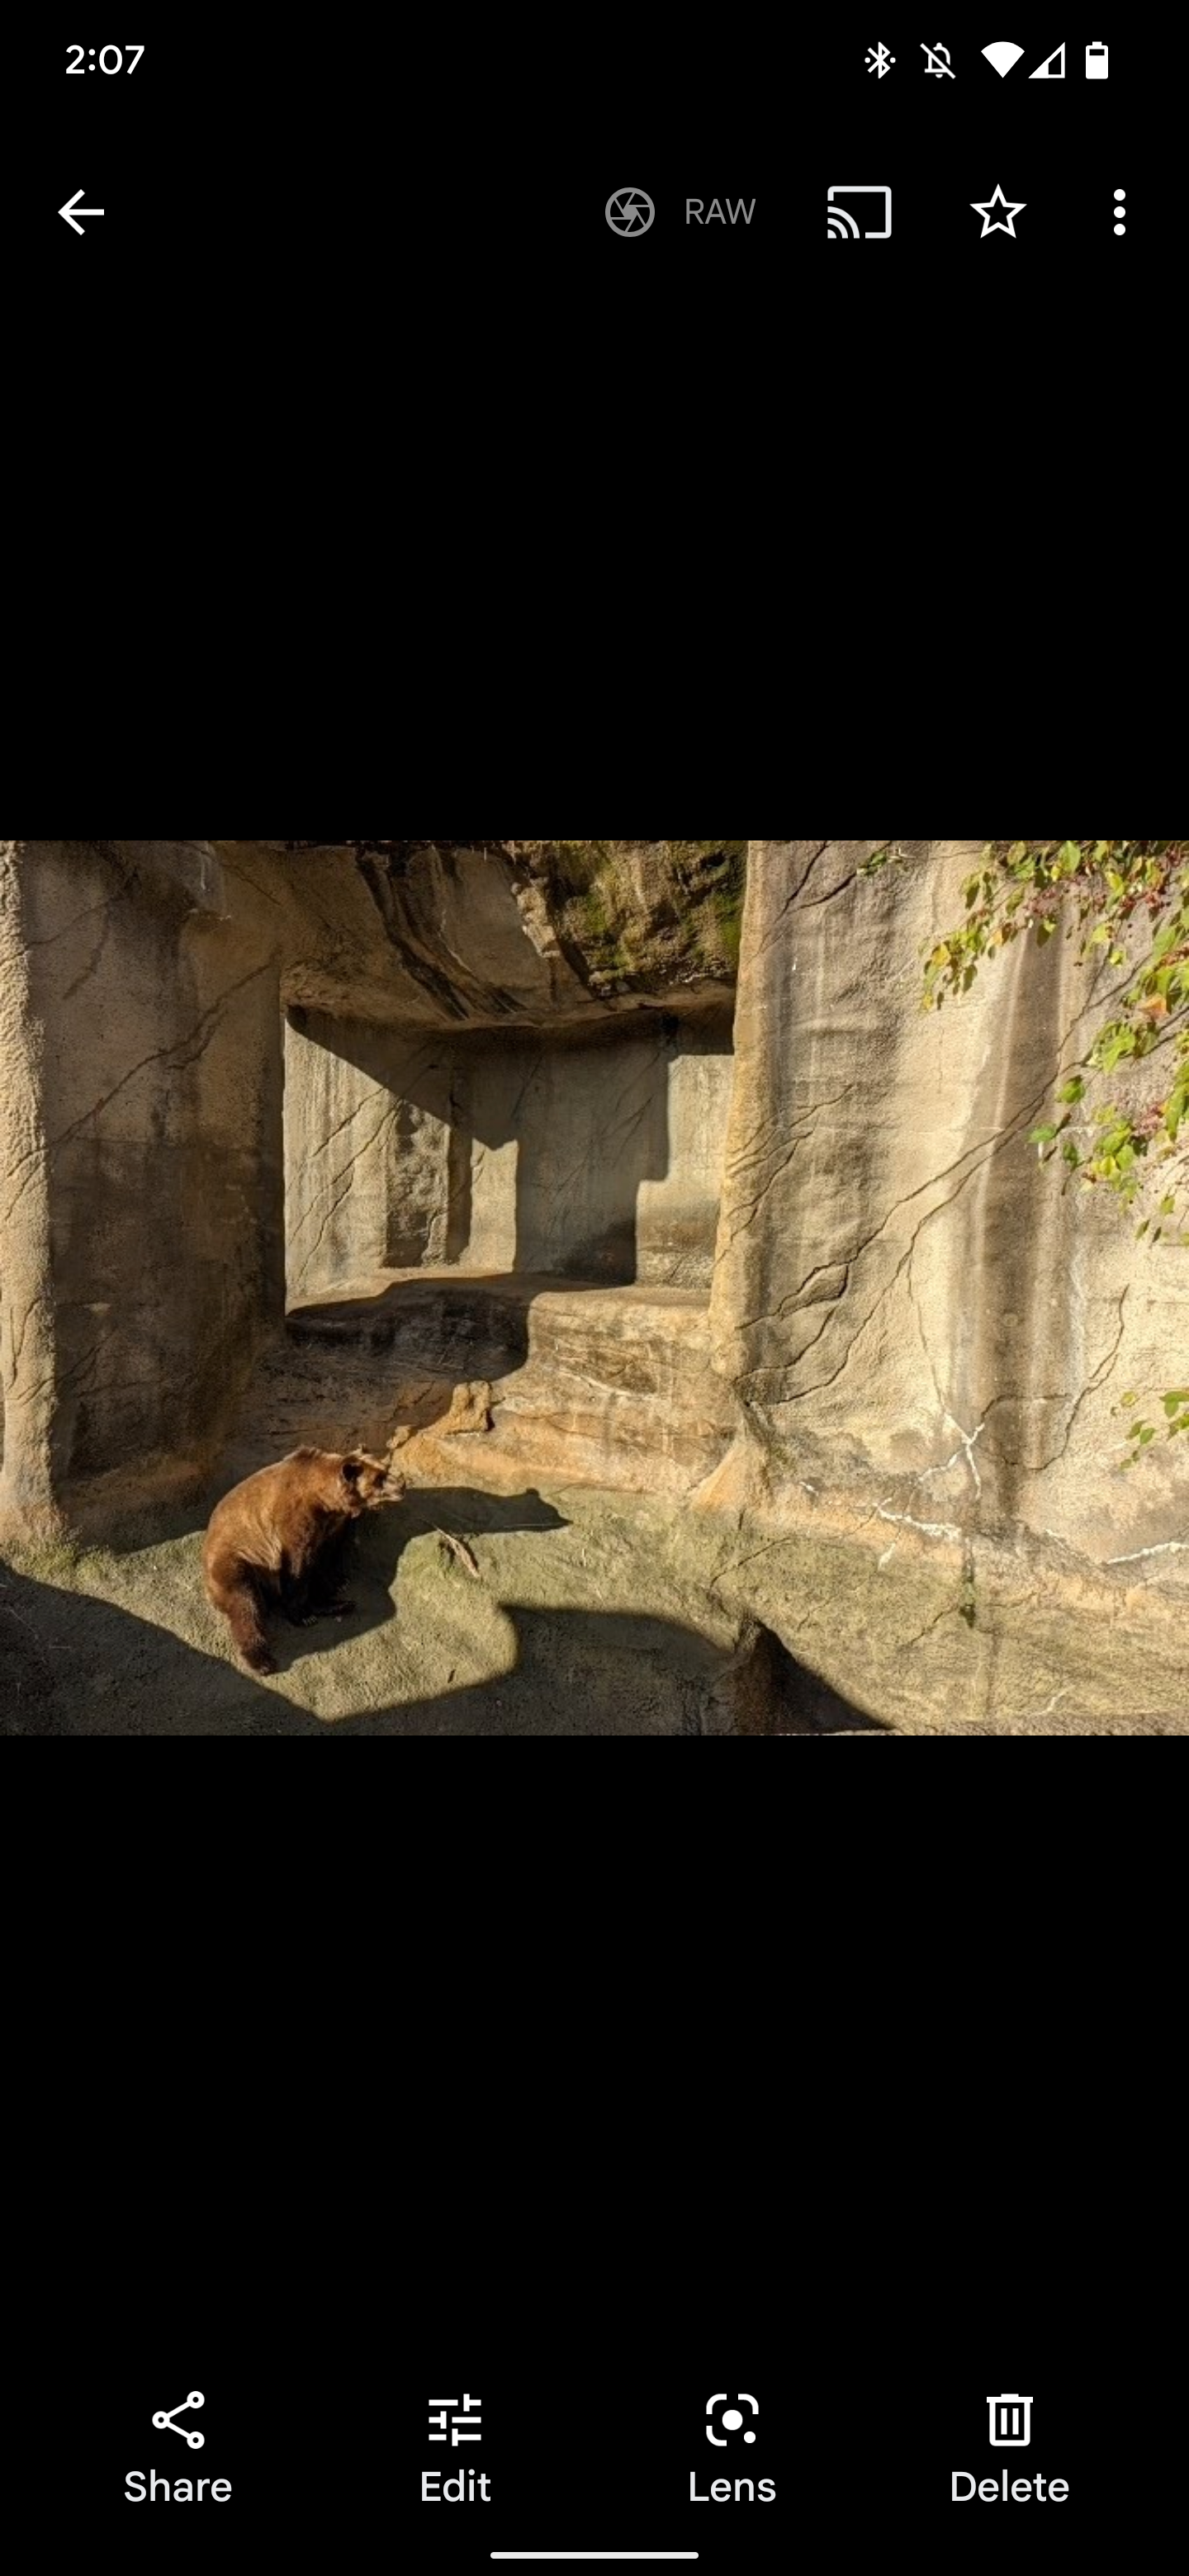
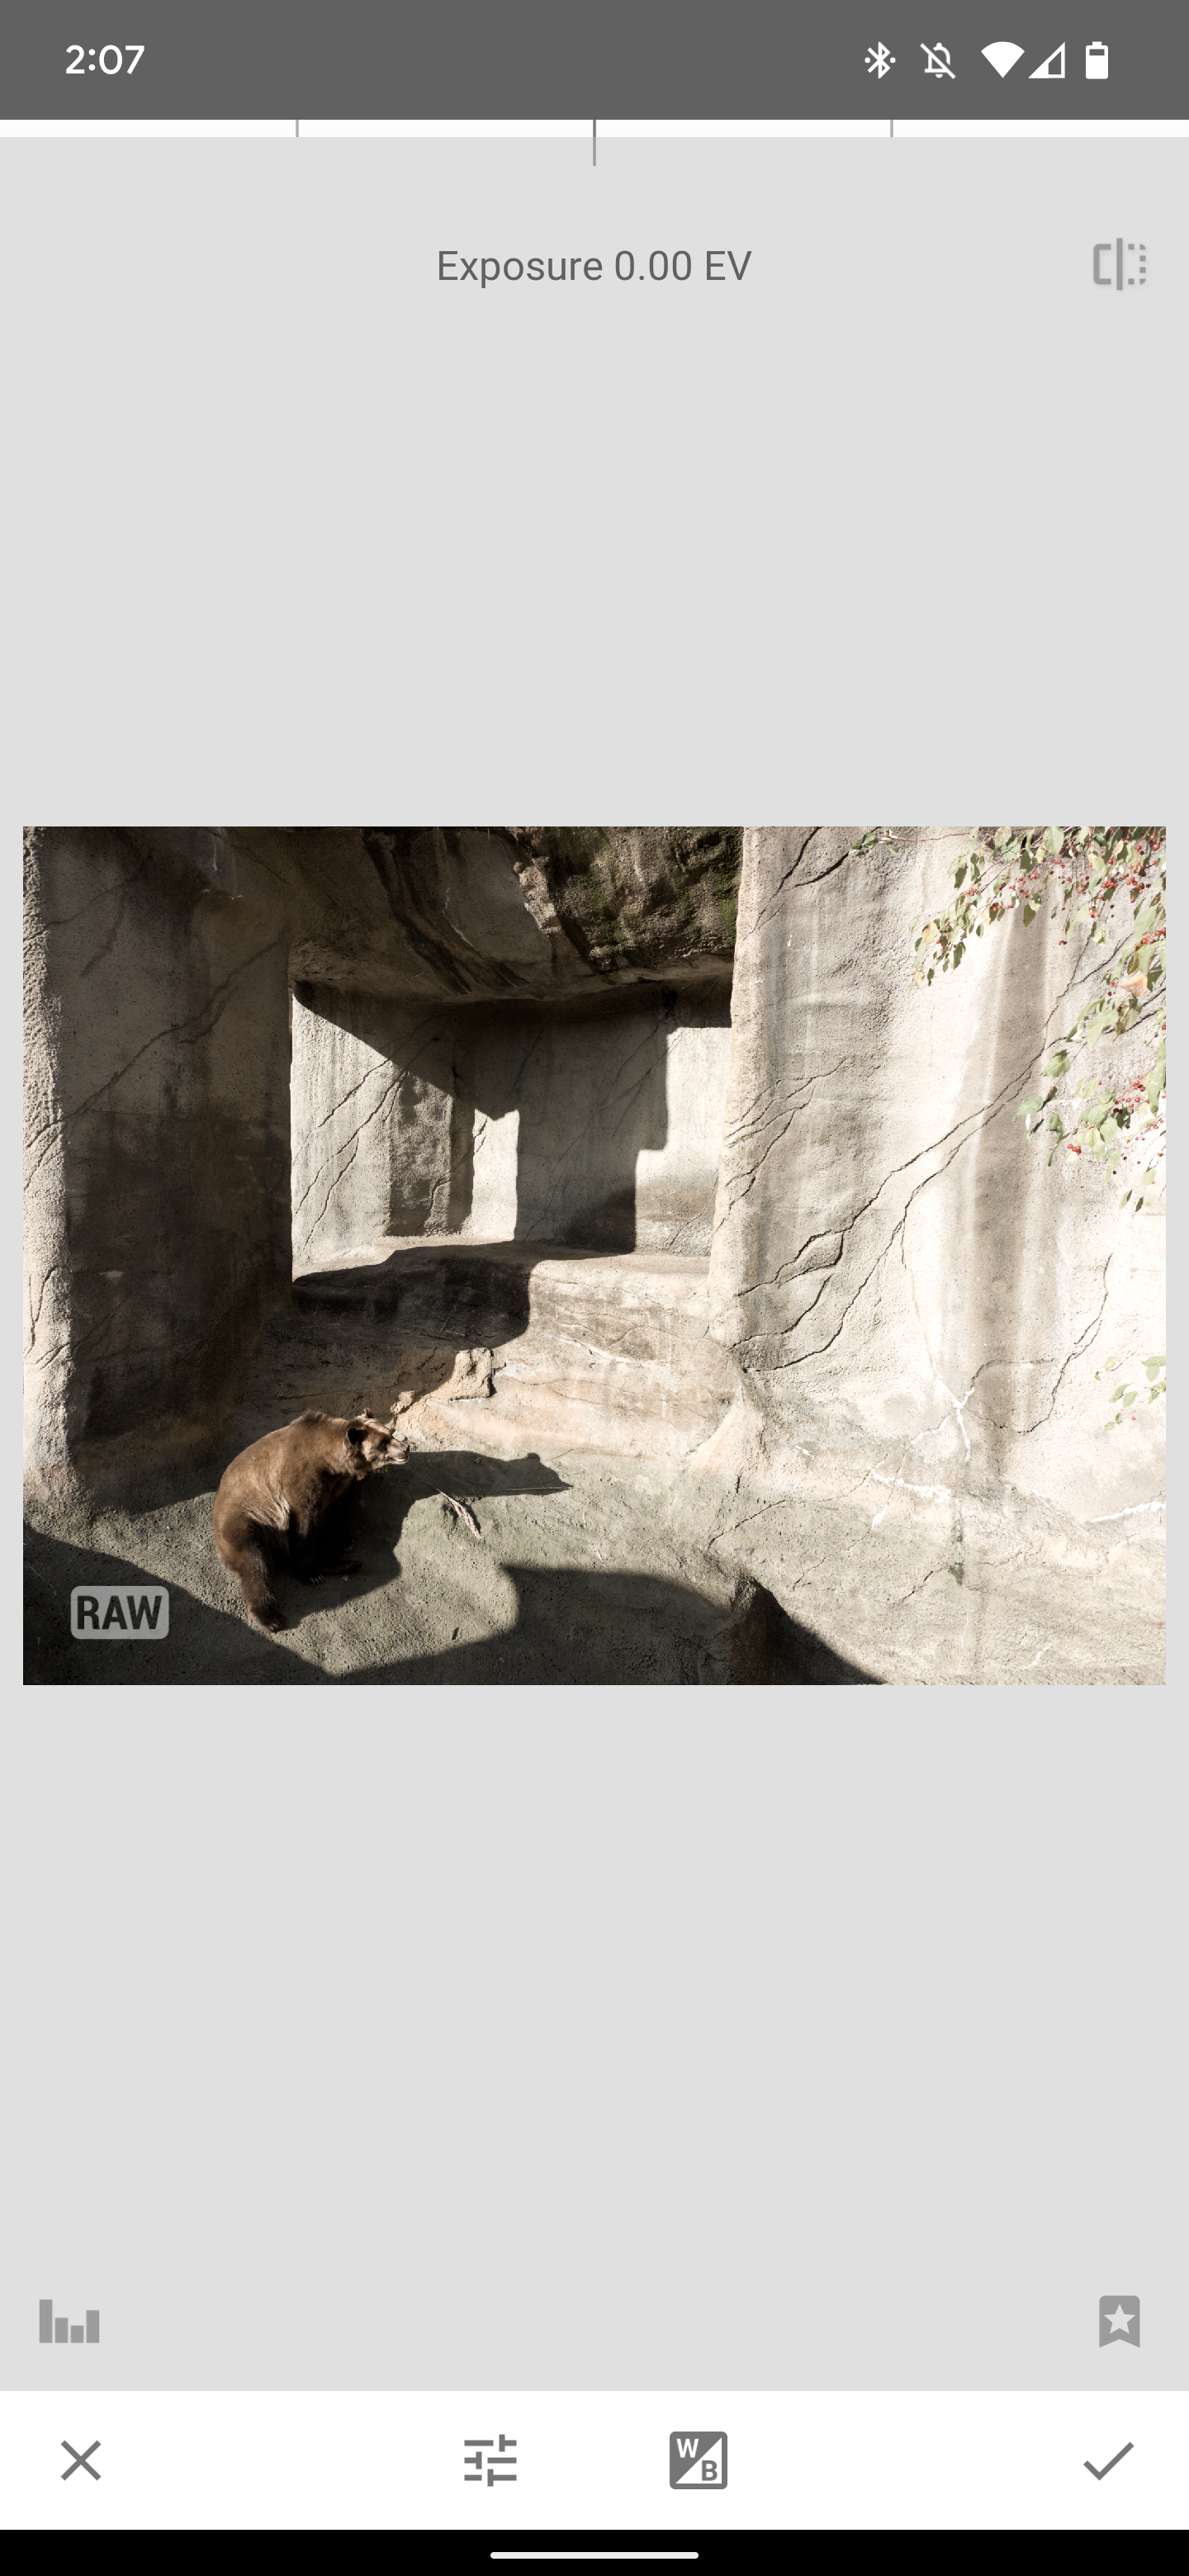
Left: RAW file preview in Google Photos. Right: Unedited RAW file in Snapseed.
The lack of post-processing can be a good thing, as the editor has more control over the result of the photo. As a beginner, you may struggle to create images that look better than the post-processing done by your phone, but it's a great way to improve your editing skills. Take a photo with and without RAW and edit the RAW image to match the processed one.
Choose the best photo editing app
After you have your photo, it's time to edit it. Our guide on taking RAW photos walks you through editing RAW files, but you'll likely use a separate photo editing app regardless of the photo format.
For beginners, the default app installed on your phone may be sufficient. Google Photos has plenty of tips and tricks to help you edit photos, and it's available on all Android devices. Later, you may want to experiment with an app like Snapseed, which contains more editing options.
Take a moment to browse our roundup of the best photo editing apps. Each has unique features, so choose the one with the necessary tools.
Get comfortable with the common editing tools
So you opened your photo in an editing app. Now what? The selection of menus, buttons, and sliders can seem overwhelming but don't worry. We'll walk you through common editing tools to help you understand the basics behind most photo edits.
For this section, we use Google Photos to demonstrate each effect. But regardless of which photo editing app you use, all these options should be available.
Do you use a Samsung phone? Try these Samsung Gallery tips and tricks to find out what editing tools you can access.
Crop tool
The crop tool is simple to use and one of the most valuable tools. Composition is vital for a good photo, so cropping your shot can help the viewer focus on the essential part of the photo. Keep an eye on your app's gridlines when cropping to ensure the photo's object isn't pushed out of the way by the crop. Tools like the Pixel's Magic Eraser can also remove unwanted objects.
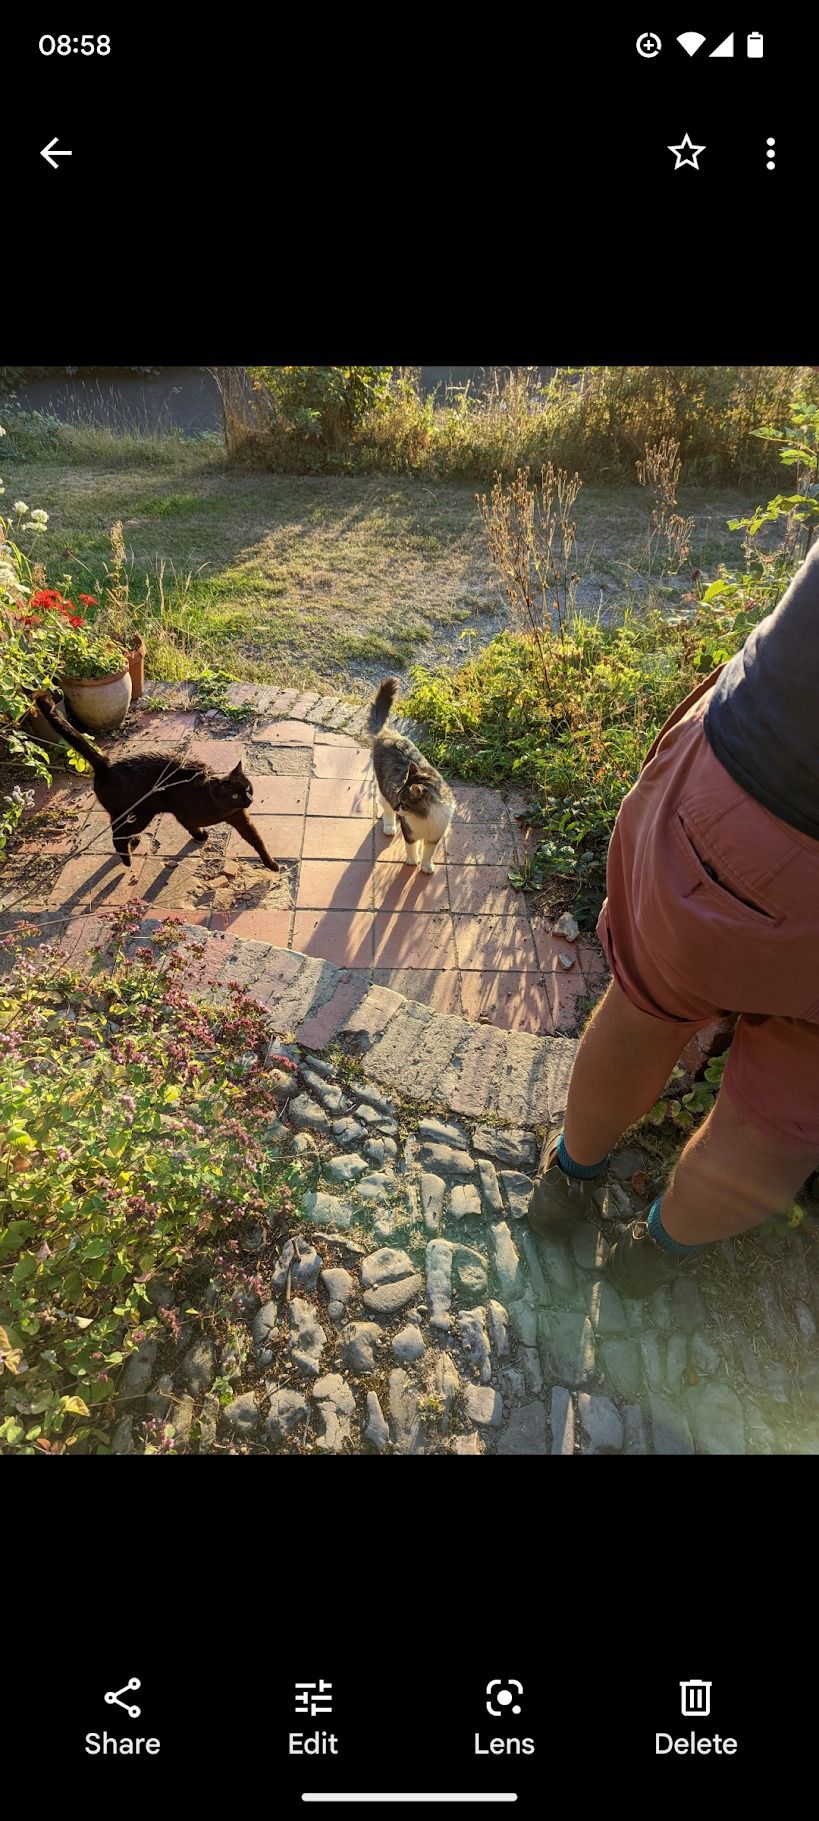
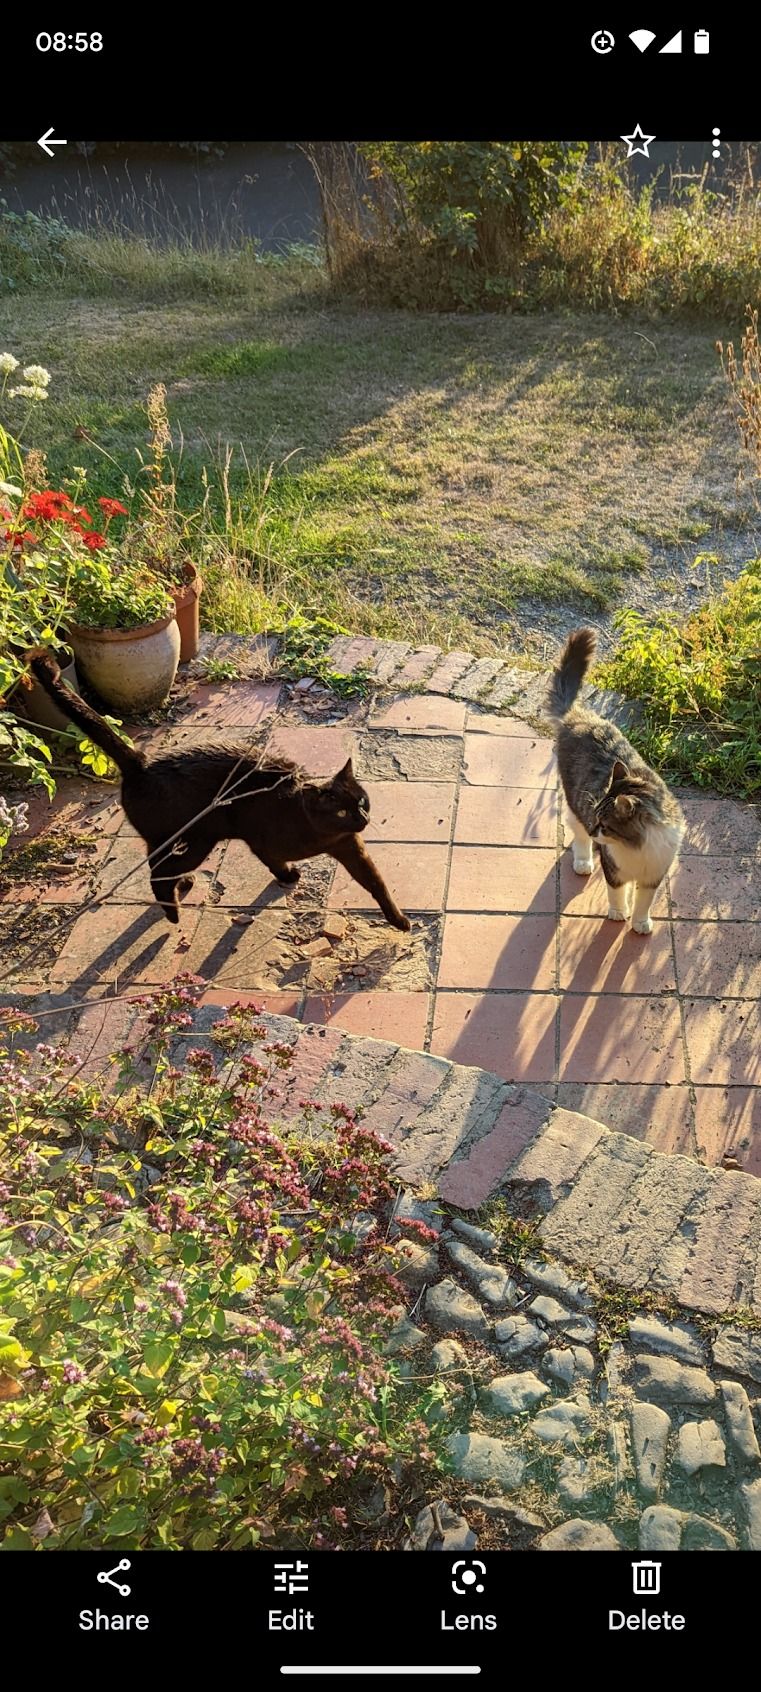
Cropping is a great way to remove unwanted objects from an image.
While cropping is necessary to remove unwanted objects, it also helps to focus on the image. In the above example, the crop tool focuses on the things in the photo (the cats), bringing them into the center rather than off to the side.
Saturation
Adjusting the Saturation slider boosts or decreases the photo's color. It's handy if your image appears washed out, but don't overdo it. Oversaturated photos can look vulgar. Conversely, decreasing saturation can tone down garish colors. Adjust it by small amounts, then take a moment to compare the photo with the original.
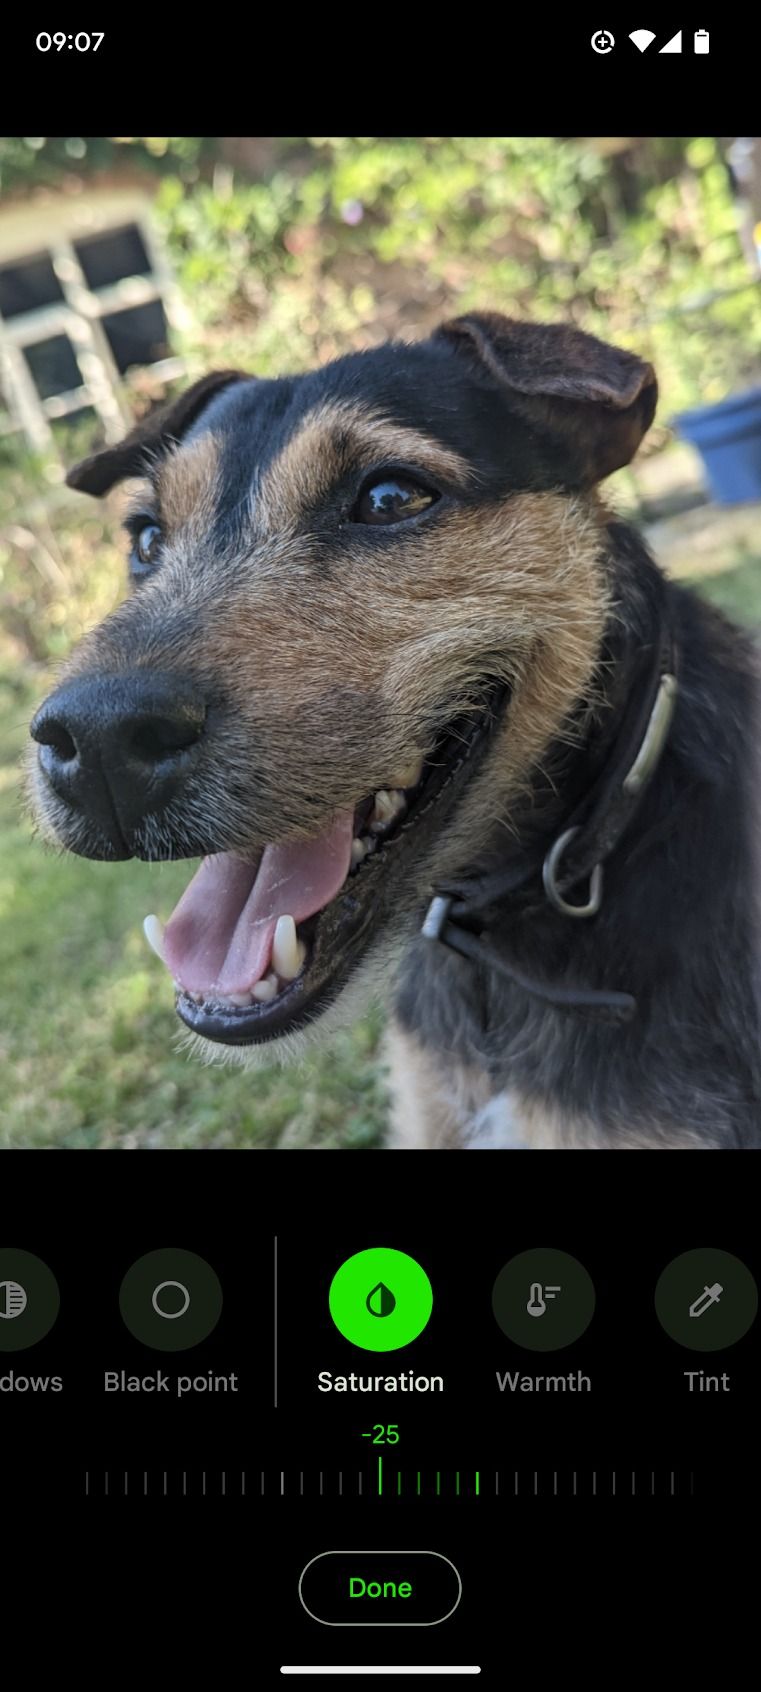
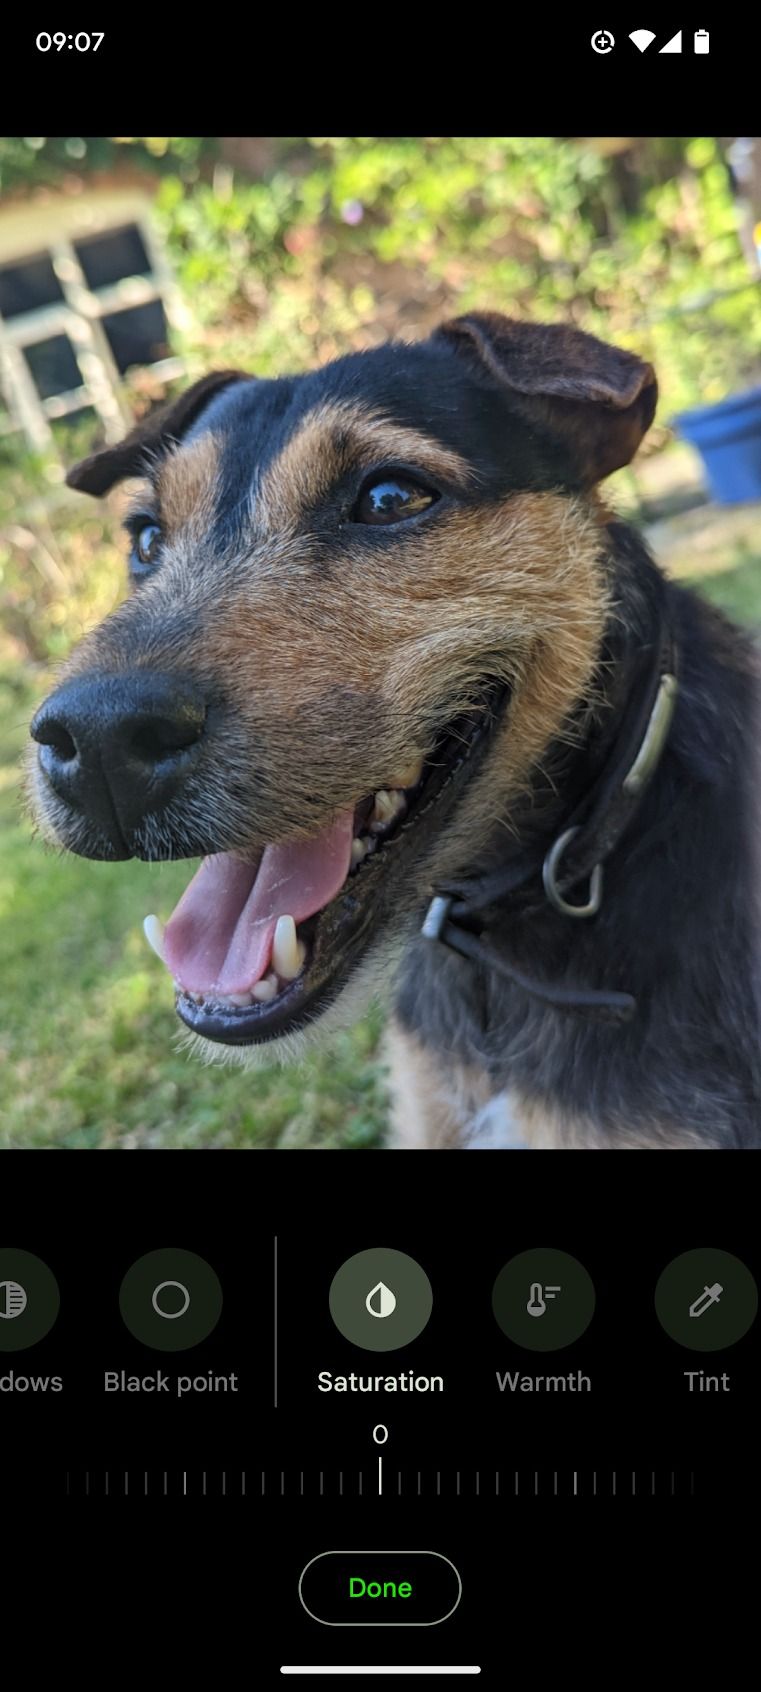
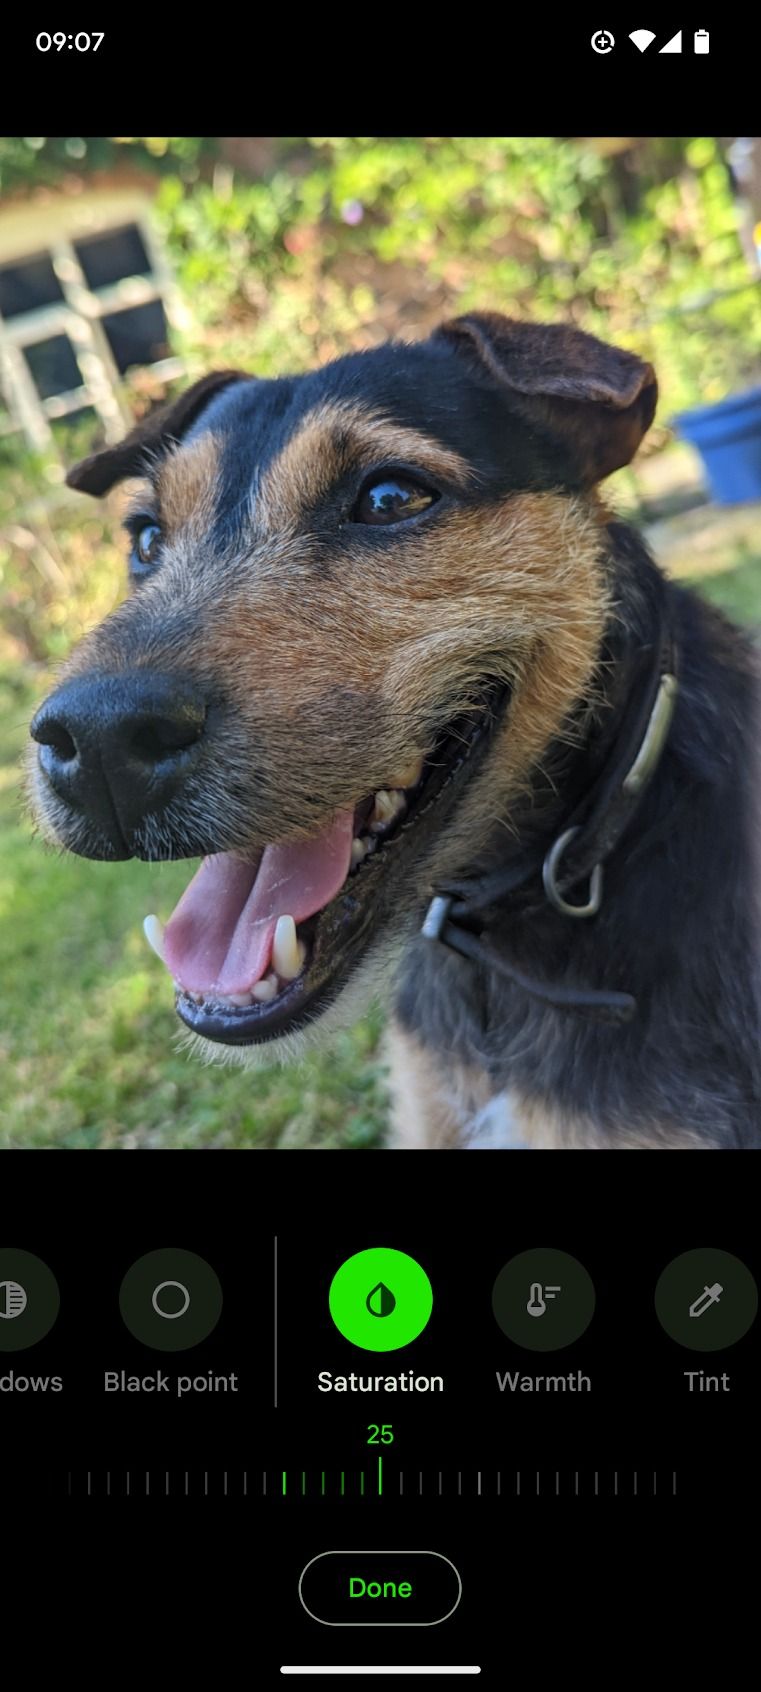
Left: Saturation set to -25. Middle: Original photo. Right: Saturation set to +25.
The slider wasn't adjusted much in the above example. Still, it significantly impacted the final photo.
Warmth
Adjusting the saturation of an image boosts or decreases all colors, but changing warmth only affects yellow, orange, and red tones. This is handy if you take a photo near a blue or red light source. Adjusting the warmth in these scenarios can return the original colors to an image.
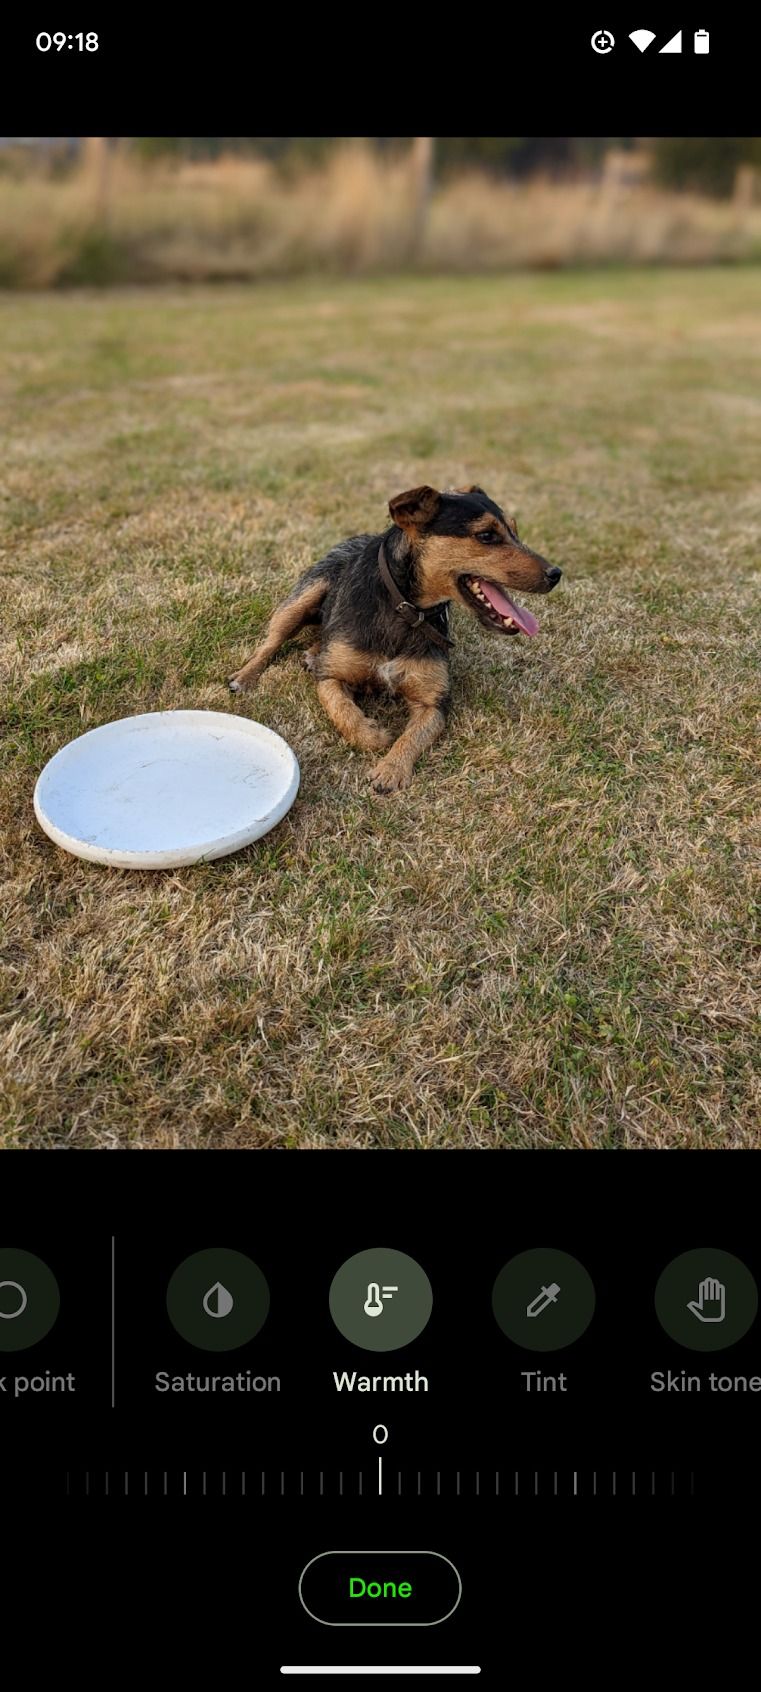
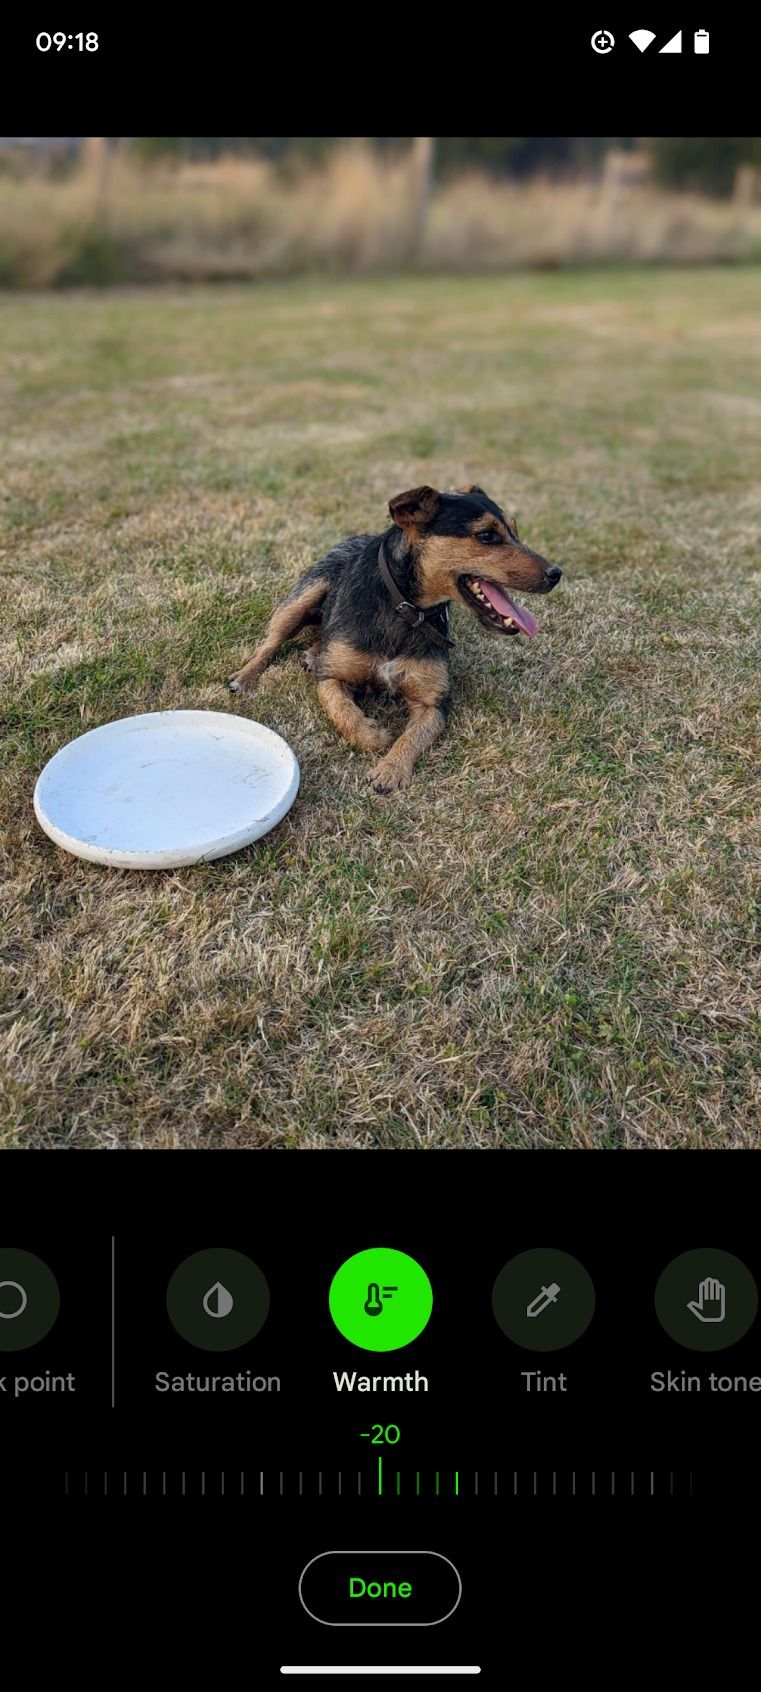
Left: Original photo. Right: Warmth set to -25.
The above photo was taken as the sun set, which lent an orange tint to the picture. Adjusting the warmth removed this tint as if the photo had been taken an hour previously. The Saturation and Tint tools are great options to use after adjusting the warmth of a photograph.
Brightness and Contrast
Smartphones struggle with poor lighting, so adjusting the brightness and contrast is a common editing technique. These tools are often used simultaneously. Brightness increases or decreases the overall light level, whereas contrast adjusts the difference between an image's dark and light parts. Careful adjusting both can create photos with better definition.
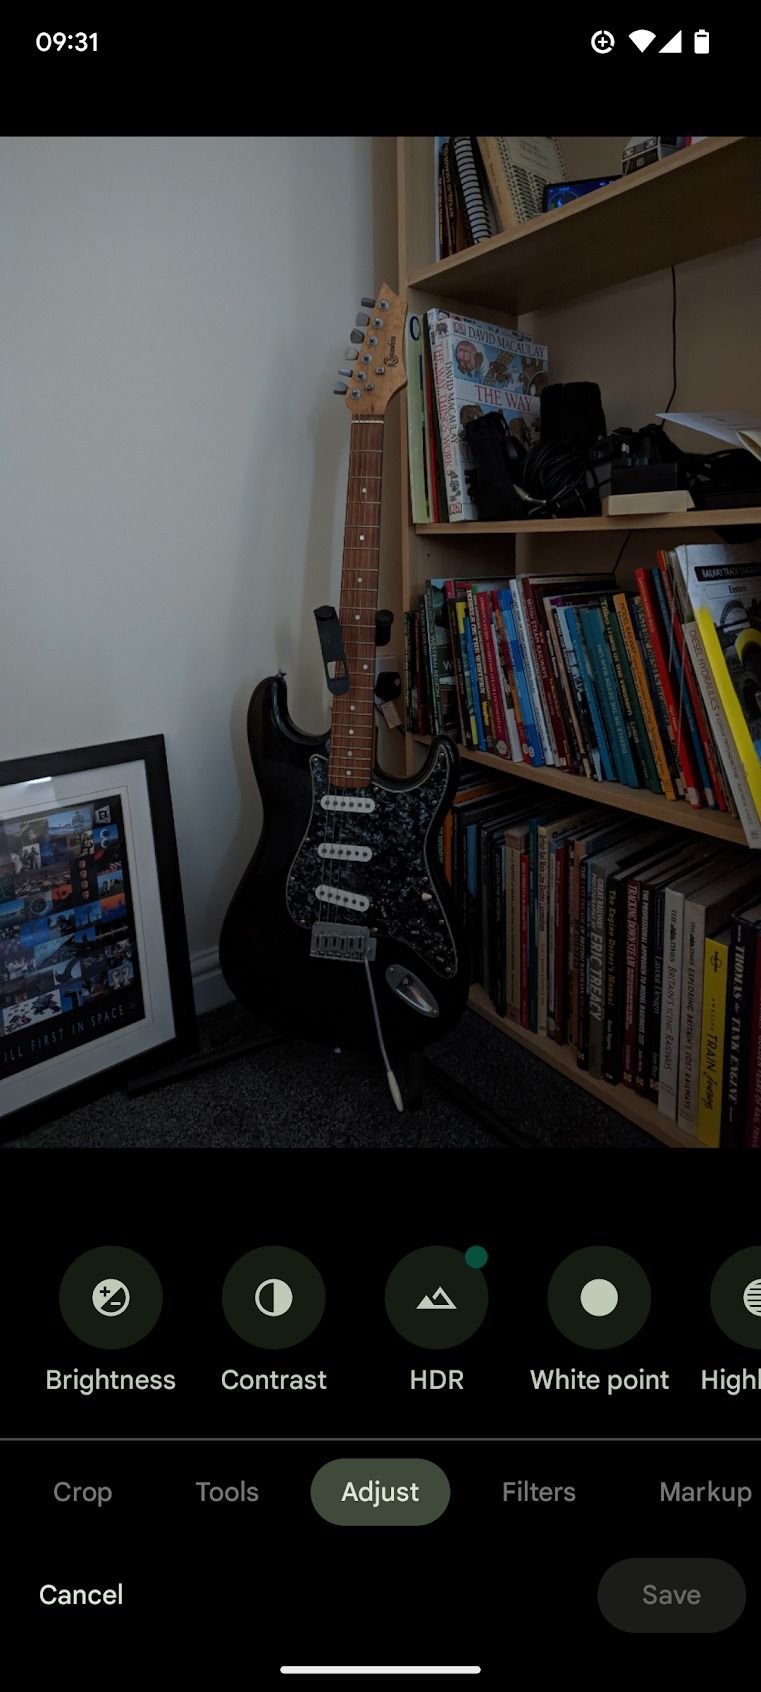
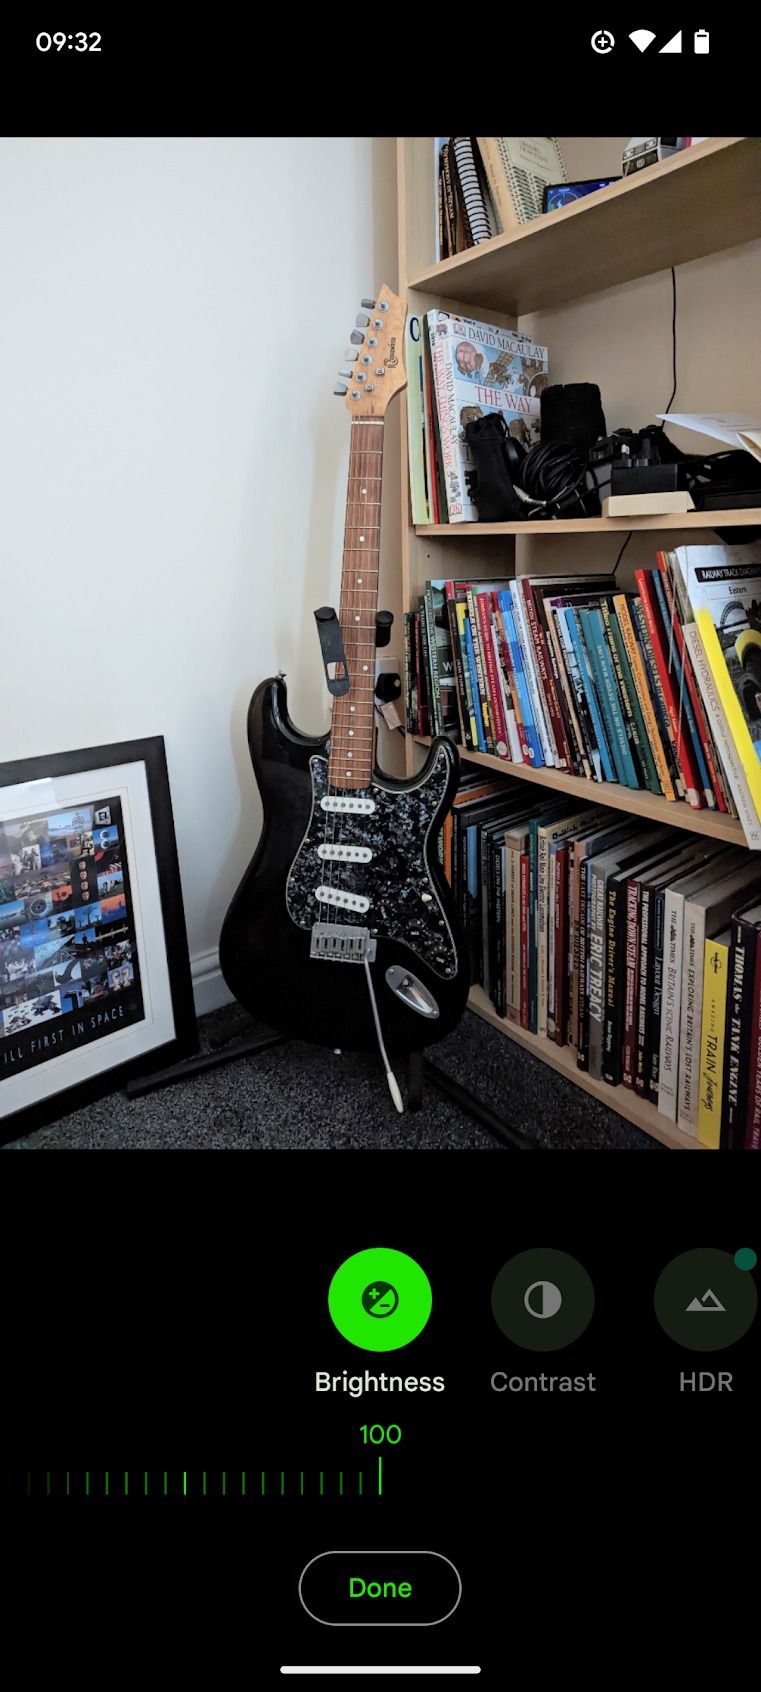
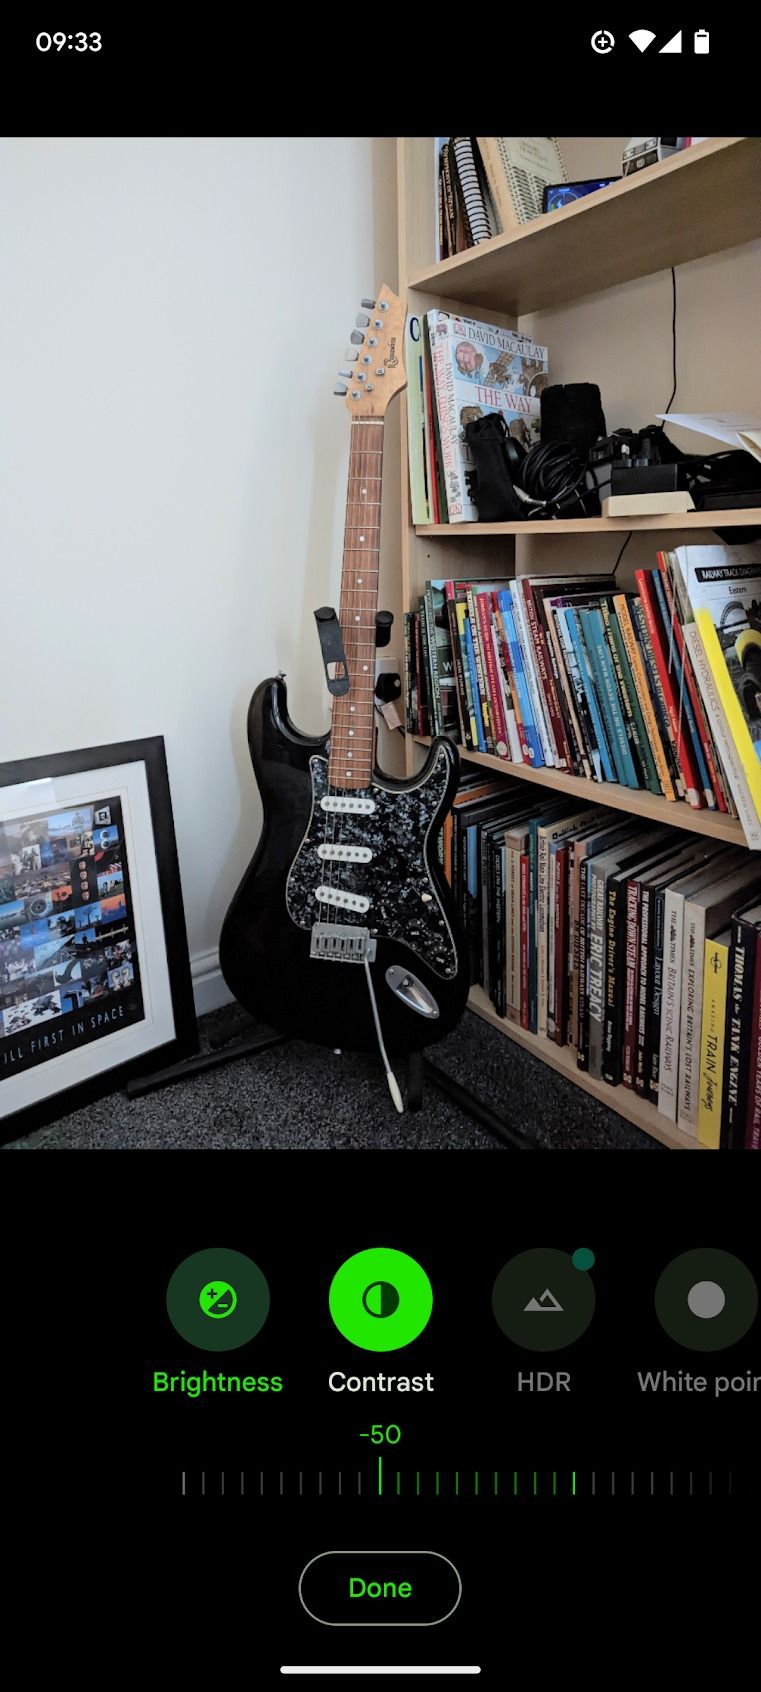
Left: Original photo. Middle: Brightness set to maximum. Right: Contrast set to -50 after adjusting brightness.
The photo above is a perfect example of why the initial image is the most crucial part of editing. Adjusting the brightness and contrast levels can remove most of the shadows, but it would look better if adequate light had been present before taking the photo. Take photos where the light is directly falling on the subject of your photo.
Don't be intimidated by editing
Smartphone photography isn't just about buying the best technology. If you know the basics inside out, we recommend buying one of the Android phones with exceptional cameras. These devices will help you take great photos, partly thanks to the magic of computational photography.

