Autoblog may receive a share from purchases made via links on this page. Pricing and availability are subject to change.
There are few things more annoying than a scratch in your paint. Luckily, depending on the size and severity of the scratch, a home repair is often feasible, and it can make a big difference in the overall look of your vehicle. The video above features AMMO's Larry Kosilla as he goes through the step-by-step process to repair a deep scratch, addressing common mistakes and detailing exactly what you'll need to take the project from start to finish. We've also included links to anything you might need for the job, below. Of course, always keep in mind that each car is different, which means the process may vary slightly from vehicle to vehicle. In this case, we've provided product recommendations for everything other than your touch-up paint, since for that product you'll want to be sure you get something that matches your specific car. Always consult your manual before doing any type of work on your car, and if there's any doubt, leave it to a professional.
Scott Shop Towels (1 Roll) - $4.99
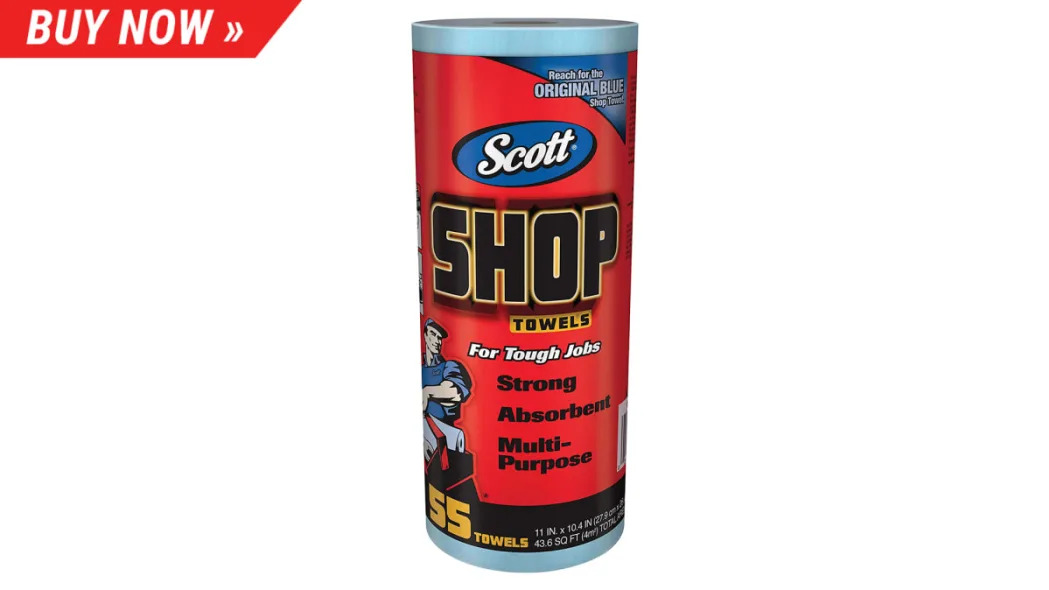
Every garage needs a good roll of shop towels. These are designed to clean up grease, oil, or any other kind of liquid spill you might come up against. They're strong and stay durable when wet. There are 55 towels per roll, each one at 10.4" x 11" in size. You can pick up a roll if you need one right here.
Swan Isoprophyl Alcohol - $8.01
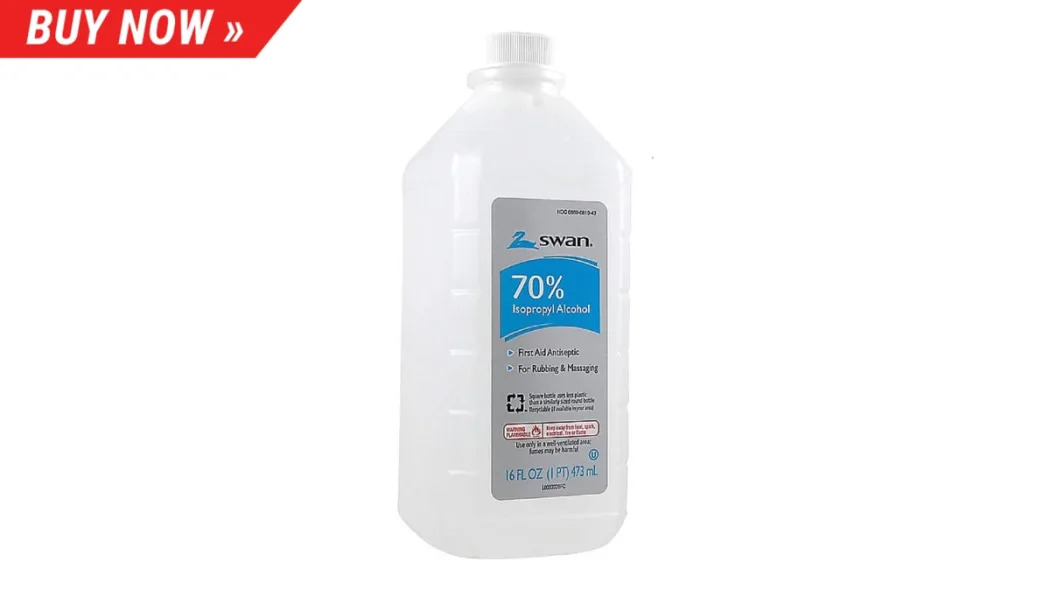
Rubbing alcohol can come in handy for many projects both inside and outside the garage. For most things, any old rubbing alcohol will do, but this one is available and affordable, so it's worth a look if you're in the market.
3M/BONDO Glazing & Spot Putty - $9.49
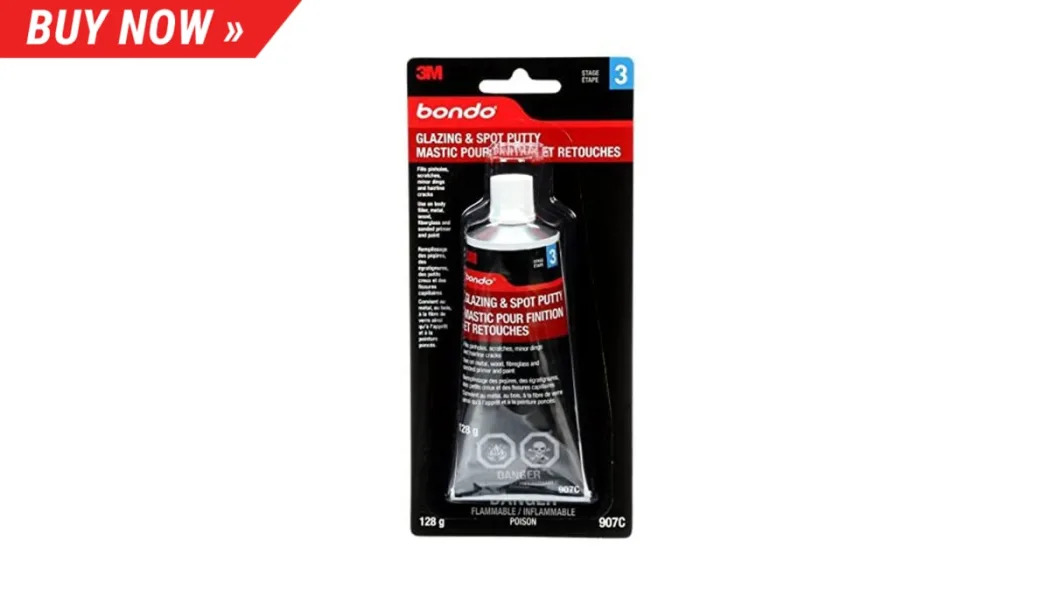
When repairing a deep scratch, you'll need some spot putty to fill in the crevice. This Bondo putty from 3M dries fast and dispenses easily from its tube. No mixing is required. You can pick up a tube for under 10 bucks right here.
EHDIS 3" Block Squeegee - $6.99
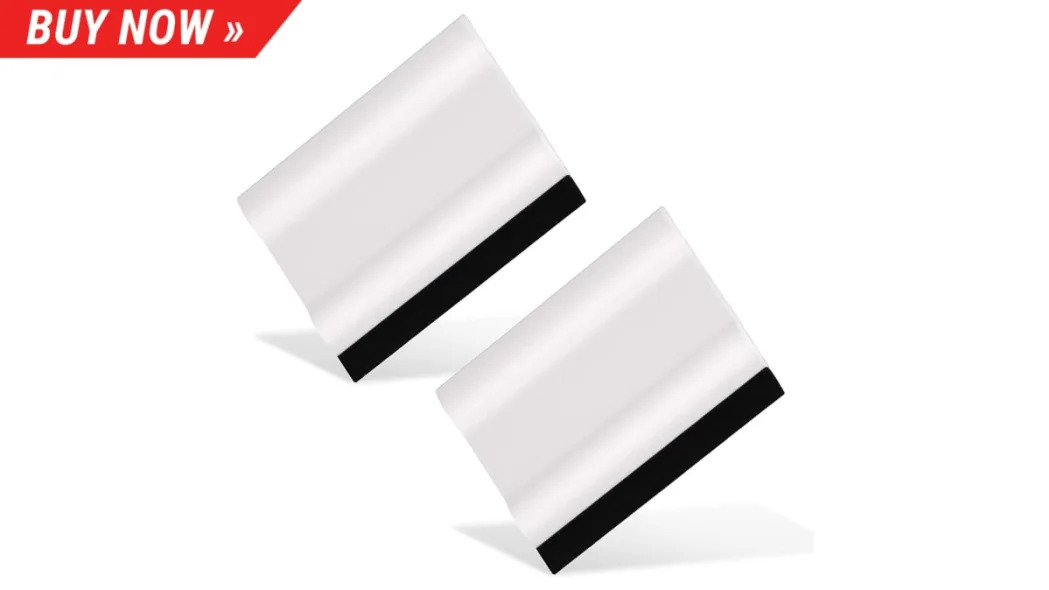
For this job you'll need a squeegee to spread your spot putty over the scratch in your vehicle's paint, but they're helpful for other things too. The 3" block is great for carefully applying decals and vinyl to your ride and can even be cut to any angle to reach tight corners. If you need a squeegee, check out this 2-pack here.
For the purposes of this step-by-step guide, you'll really only need this block as something to wrap a shop towel around. Importantly, it's durable, flexible, and it evenly distributes hand pressure. For less than 5 bucks, it's a solid choice.
Scratch Leveler (2 oz) - $4.95
This ScratchWizard Scratch Leveler will help remove the excess putty around the scratch after you've filled it. Depending on the size of the repair, you probably won't need a ton, so this 2 oz bottle for $4.95 is a great value option.
FixAuto Touch-Up Paint Brushes - $8.99
Last but not least, you'll need a paint brush to do the final touch-up. Any fine brush will do, and you may already have one around the house, but if you need to pick one up, these are specifically made for automotive touch-ups. They're 3.85" long with a 2.5 mm microfiber tip. Also, there are 100 of them! You can pick up the bundle right here for less than 10 dollars.
Video transcript instructions:
Deep scratches in your car's paint are annoying to look at, expensive to repaint, and open up your paint to future rust problems if left untreated. We walk through the steps to cosmetically repair that deep scratch. Watch all our Autoblog Details videos for more quick car care tips from professional detailer Larry Kosilla.
When I find a deep scratch in my paint, I lose my mind. They're annoying to look at, expensive to repair, and open up your paint to future rust problems if left untreated. Here are the items you'll need for this task: isopropyl alcohol, shop towels, touch-up paint, small touch-up brush, foam block, filler putty, squeegee, and a paint leveler.
Start by cleaning the scratch
For the purposes of this demonstration, I'll be working on a scrap panel hood I use to practice compounding and polishing techniques. First, I'll use a screwdriver to mimic the damaged caused by a tree branch, shopping cart or bicycle handle. These scratches are usually deep and require more than just a simple touch-up. To start, clean out the scratch with rubbing alcohol to remove any leftover wax, especially if the gouge occurred after a recent wax or sealant session. Due to the severe depth of the scratch, touch-up will not be effective nor efficient when filling in the crater. For this, a glazing spot putty will fill the void or crater before applying touch-up on top of the dry putty.
Filling it in
Squeeze a bit of putty next to the scratch, then use a small squeegee to spread the putty into the scratch and allow the glaze to dry for two to three minutes. Once dry, wrap a shop towel around a foam wet sanding block, and apply liquid paint leveler to the towel. The leveler will remove the putty surrounding the scratch, but leave the excess putty within the scratch. Gently wipe the towel across the putty to remove small sections at a time. Use light pressure as the goal is to leave the scratch full of putty and it may take you a few minutes to get this done properly. When done, the scratch should look like a thin red line the length of the original damage.
Applying the paint
Next, use touch-up paint from your dealership or specialized online retailers and a very fine brush. Apply the paint to the red putty by dabbing, not brushing or wiping. Cover the area with a thin, light coat and allow it to dry over night. If more touch-up if required, add one more thin coat or simply apply clear coat on top of the dry touch-up paint. The main purpose of touch-up, especially for deep scratches, is to protect the paint from future corrosion, however, if done correctly, the byproduct of this process cosmetically makes the scratch less annoying to look at.
For more how to car care videos hosted by Larry Kosilla of ammonyc.com, visit autoblog.com/details.

Sign in to post
Please sign in to leave a comment.
Continue