Tips: Five different ways how to find your hidden files on macOS
 William Gallagher
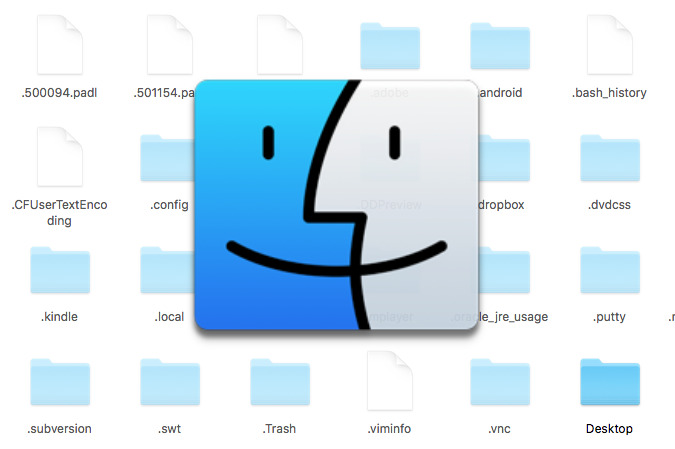
Apple is wise to hide certain key files so that they can't be edited or deleted by accident but this can be very inconvenient from time to time. Fortunately, Apple also provides five completely different ways to reveal them all. AppleInsider details how to pick the right technique for you and then how to use it.
It's probably apocryphal, but there is a story from the ancient days of DOS where a user deleted the file command.com because it wasn't one he'd created. That one move wrecked his PC and reduced it to a state of immobility that wouldn't be equalled until the launch of Windows.
Even today, though, you could do the same right now with your Mac if you found the right files to delete — but Apple has hidden them all.
It's not so much a case of Apple protecting us from ourselves as it is the company just trying to save themselves some support calls. There's no question: having key system files being hidden is a good thing. That is, until you need to see them to back something up, to troubleshoot a problem or to do something like an application's macros that you set up on one drive and need on another.
There are thousands of invisible files on your Mac but usually the ones we're interested in really just hidden within the Library folder. Without taking certain steps, you can't see this in your account. And within that Library there are files from Apple that your Mac needs in order to run but there are also ones by other companies.
Very many developers store important files in a subfolder of the Library called Application Support, for instance. And we just had a case where we needed to copy those from a failing boot drive.
The easiest way to find hidden files
Remember that most of the time, what's actually hidden is specifically the Library folder. So if you can find that and get inside, you're done.
And you can. Go to the Finder, choose the Go menu, then Go to Folder and type in exactly this: ~/Library/
Press Return or click Go and you're taken into the library. Job done. Now you can find the files you want and do what you need. Except there's the issue of that tilde character, the ~ in what you typed. That's a shortcut which tells macOS to take you to the Library of this Mac and specifically the current boot drive.
When you need more
Say you're like us and you had an external drive you used to boot from. It has its own Library file in your user account and ~/Library/ won't get you anywhere near it.
In theory, you should therefore replace the ~ shortcut with the full path. It will be Your Mac Name/Your Drive/Users/Your Username/Library and that shouldn't be difficult. Yet sometimes it is.
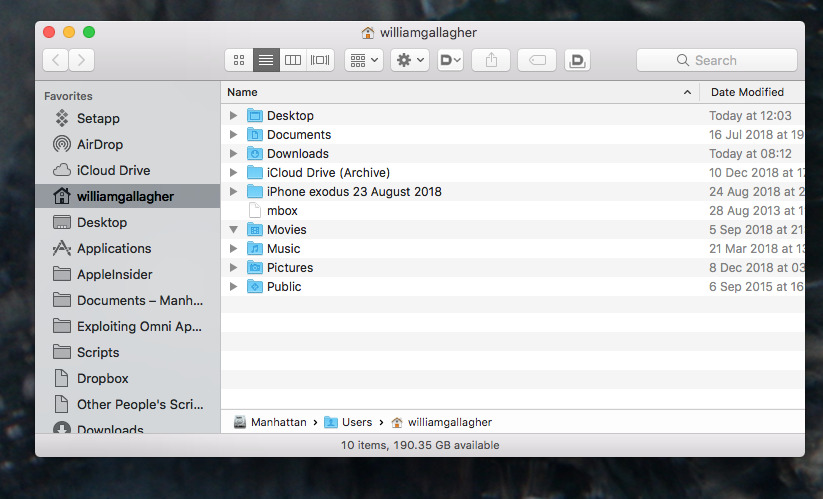
To find out what the full path to type should be, open a Finder window and drill down into the User account. Then right-click on the folder name in the top bar of the window and you'll see the path.
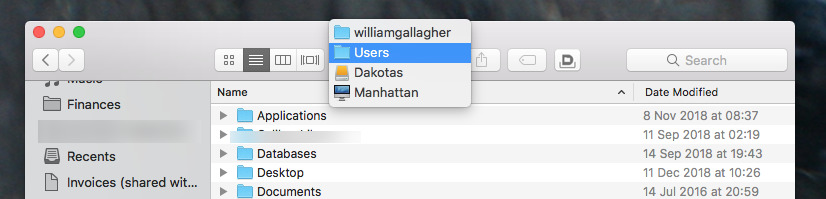
You see it as a series of levels going from the current folder at the top down to the name of your Mac at the bottom. You should then be able to use the Go menu and type in each of those levels as names separated by a slash. Do that, hit Return, you're inside the folder.
Except for some reason it keeps going wrong on us. Each time it is also hard to fathom why because Go will regularly drop us back in whichever folder we started with.
So you can see times when this is the obvious solution but in case you're as prone to mistyping pathnames as we appear to be, there are other options.
Seek, locate
In any Finder window, you can type a search term into the box at top right. Press return and the Mac finds every matching item — if it's visible. You can use the same tool to show hidden or invisible ones, too.
When you've got the first result up, even if it's an empty folder saying 0 items, you also get an extra bar at the top of the window. It includes a Save button in case you want to do this particular search repeatedly, but next to that is a plus sign.
Tap that and you get a further bar with drop-down options.
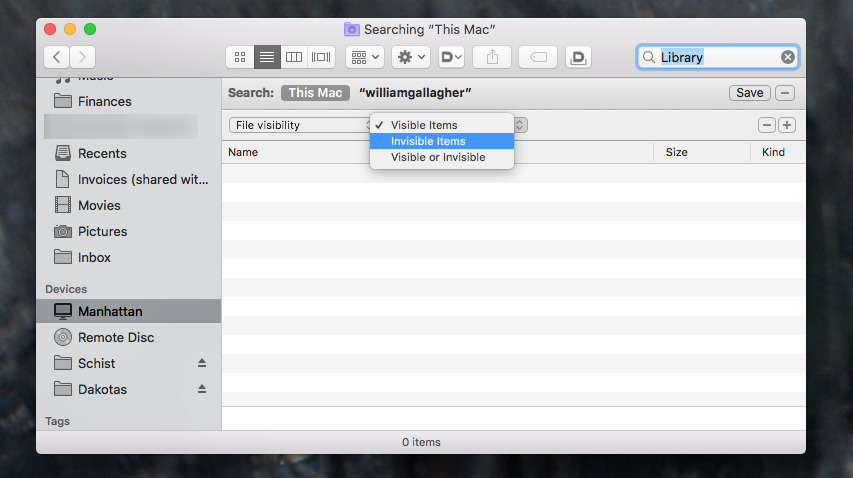
The list of options you see will vary but you're unlikely to see the one labelled File Visibility. You will, though, see Other. Choose that and pick File Visibility — it will now be added to the dropdown list.
Select that and then take your choice from the options offered. You can tell the Finder to search for all files that are invisible, visible or both.
It works but it's not very effective. You need to know the name or part of the name of the hidden file you want. And even then, there are oddities. If you search for 'Library' in your users account, for instance, you won't find it.
Documents you've hidden will turn up, various Mac items such as hidden iCloud synchronisation ones will too, but most of the time we need a better solution.
Semi-permanent visibility
Strictly speaking this is a permanent change, not a semi-permanent one. You enter a command in the Mac's Terminal and that's it, you can then see the Library and other invisible files forever.
The trouble is that forever is a long time and it turns out that the Mac hides an amazing number of files. After you've got what you needed, there is so much scrolling by previously invisible files that you'll want to go back to the way Apple intended.
In which case, you just use another Terminal command.
To make your Mac show all invisible files, launch Terminal, type in defaults write com.apple.finder AppleShowAllFiles TRUE and hit return.

Nothing obvious happens immediately, and nothing will until you restart your Mac, relaunch your Finder or just do the quickest thing — type killall Finder in Terminal. When you then press Return, the Finder will relaunch and you'll see all these invisible files.
When you're weary of seeing them, go back to Terminal and now type defaults write com.apple.finder AppleShowAllFiles FALSE. Then hit Return, type killall Finder, hit return again, and everything's back the way it was.
A longer way around
Usually you're looking for a hidden or invisible file because you want to do something with it. You're not just poking about through curiosity. If what you want is to make a copy of it, to make a safe backup, then do exactly that. Use something like Carbon Copy Cloner to make a copy.
Carbon Copy Cloner is a backup utility where ordinarily you click to say you want this entire disk backed up to some particular drive. However, you can instead switch from Copy All Files to Copy Some Files.
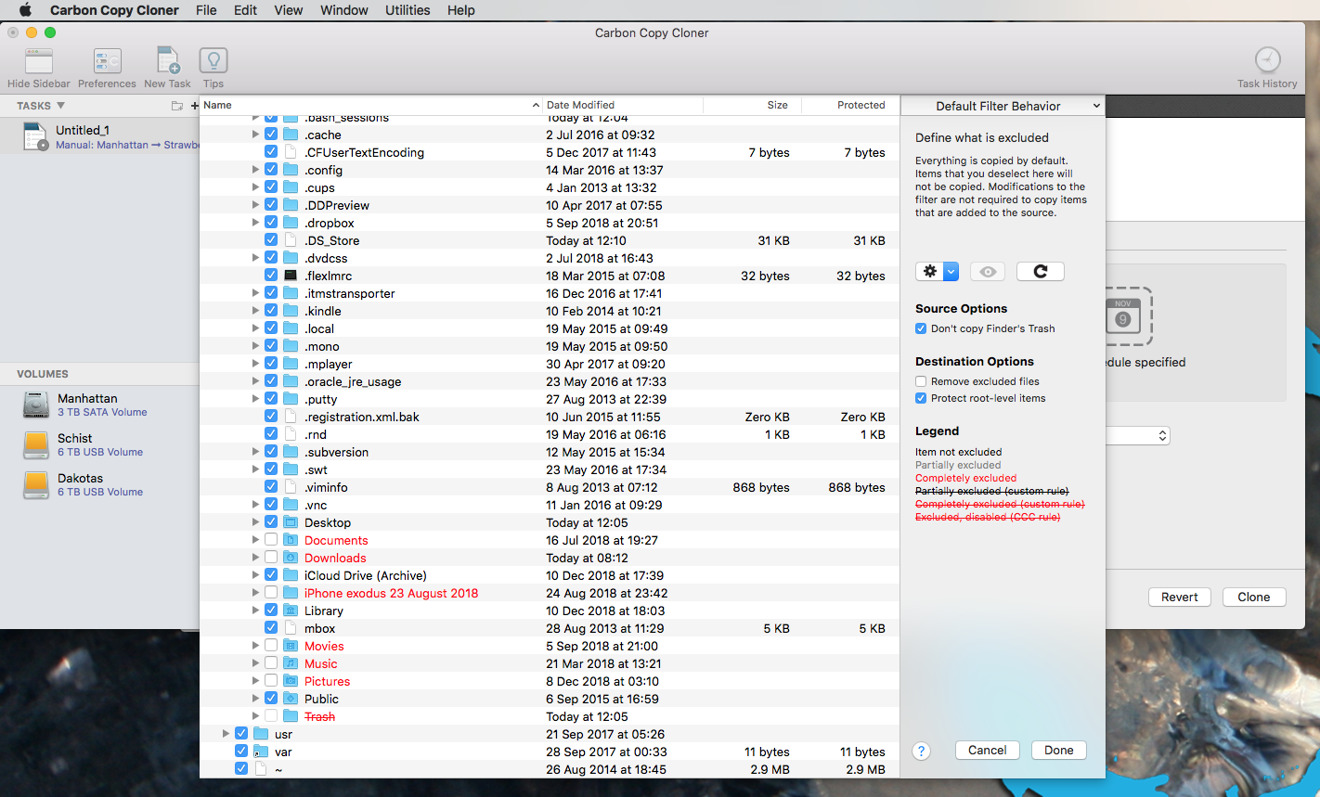
When you do that, Carbon Copy Cloner shows you all the files on your Mac, regardless of whether they're hidden or not.
Our new favorite way
Each of these is the best choice in different circumstances. To just rapidly go to the Library on your Mac's current boot drive, little beats the Go menu, for instance. If you're already familiar with Terminal and you're using it for other things, these commands are fast.
Then if you're already backing up then it's simply more efficient to use that same app to show what you're looking for.
However, in all cases and at all times, there is also this. Since macOS Sierra in 2016, there has also been a shortcut keystroke you can use.
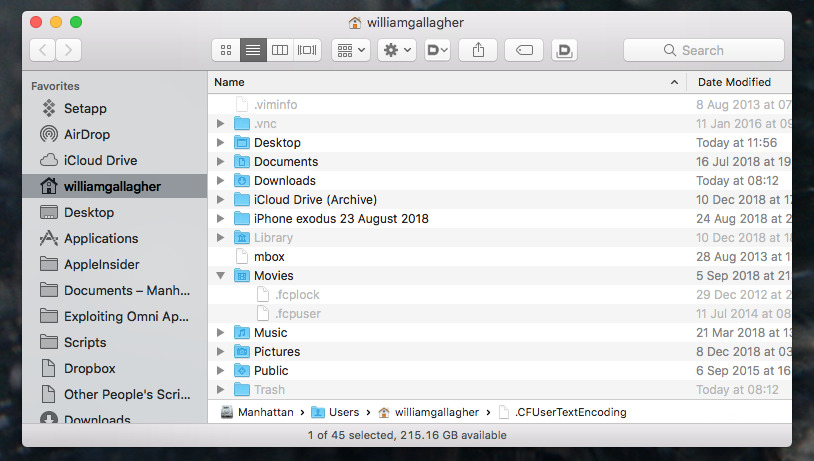
Whenever you're in any Finder window, you can hold downCommand and Shift, then tap the period. Command-Shift-Period tells the Mac to show you all invisible files.
Then when you're done, the same Command-Shift-Period keystroke tells it to hide them all again.
It's great that Apple gives us all these different ways to get to our files but it's still a good thing that they hide so many of them in the first place. You're not a new user who's likely to drag .DS_Store into the trash but any one of us can make a slip.
Keep up with AppleInsider by downloading the AppleInsider app for iOS, and follow us on YouTube, Twitter @appleinsider and Facebook for live, late-breaking coverage. You can also check out our official Instagram account for exclusive photos.


 Chip Loder
 Andrew Orr
 Christine McKee
 Marko Zivkovic

 Mike Wuerthele