How to share iCloud photos in iOS 15 and macOS Monterey
 William Gallagher
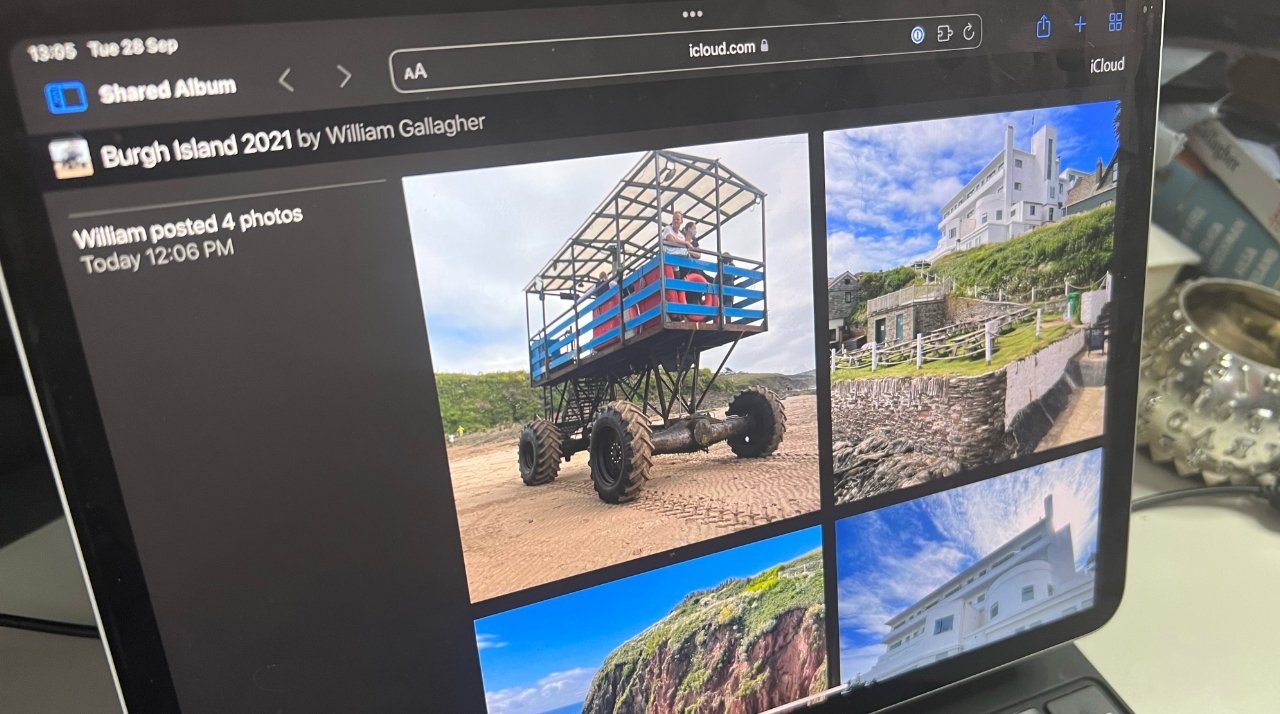
Viewing shared iCloud Photos in a browser
You can always send a photo to a friend, but sometimes you need to share images with. more people — and you may not know all of their email addresses. Here's how to share your iCloud Photos.
Maybe you got collared at the family reunion, forced into taking photos because you're good with cameras. Now after the immensely enjoyable slog of editing a thousand shots of strangers down to the forty best shots, you've got to get those images out to them.
Some people will be, shall we say, more technology savvy than others. Some will be close enough that you can just turn your iPhone around and show them.
But then second cousin Mabel's granddad wants to see the shots with her in, and he wasn't even there. You certainly don't know his contact details, you may not have quite caught his name.
What you can do then for his convenience and your sanity, is share these photos over iCloud with Mabel and let her worry about her grandad.. You have to set this up, but then any one of the family can do the job of picking out the images they want to keep.
This is all most useful when you have a lot of images that you need to share with a lot of people. So it's handiest to do it via an album, which means you can group the shots together, and also add and remove them as you need.
But you can also skip all of this album sharing and instead nominate one, two, or many photos to share straight from your Camera Roll.
How to share individual iCloud Photo
- On your iPhone, open the Photos app
- Tap the Select button at top right
- Then tap on each image you want to share
- Now choose the share button at bottom left
- Scroll down and tap on Share iCloud Link
- Wait for a moment while the link is created, and copied to your clipboard
- Paste the copied link in Mail, Messages, or anywhere you need
When you send a link like this to someone, it opens up Safari or whatever their preferred browser is, and loads the images in iCloud Photos. They're on icloud.com but your friends and family may not even notice that, because they're straight into looking at your images.
This fast and handy, plus Apple displays the photos very nicely. If you've sent a few images, they are all shown as large thumbnails, and one is also shown as a poster shot.
It tells your family who has shared these images, and it includes an unmissably large Download button for them.
There is just one problem.
Photos shared this way will only stay shared for a day. They come with an expiry date, which is prominently displayed.
To give people more time to pick and choose their images, or also to add their own if you want that to happen, you need to share an album. The process is very similar, but a little more involved at the start.
How to share an album of iCloud Photos
- On your iPhone, go to Settings, and tap on your name at the top
- Choose iCloud, then Photos
- Make sure Shared Albums is turned on
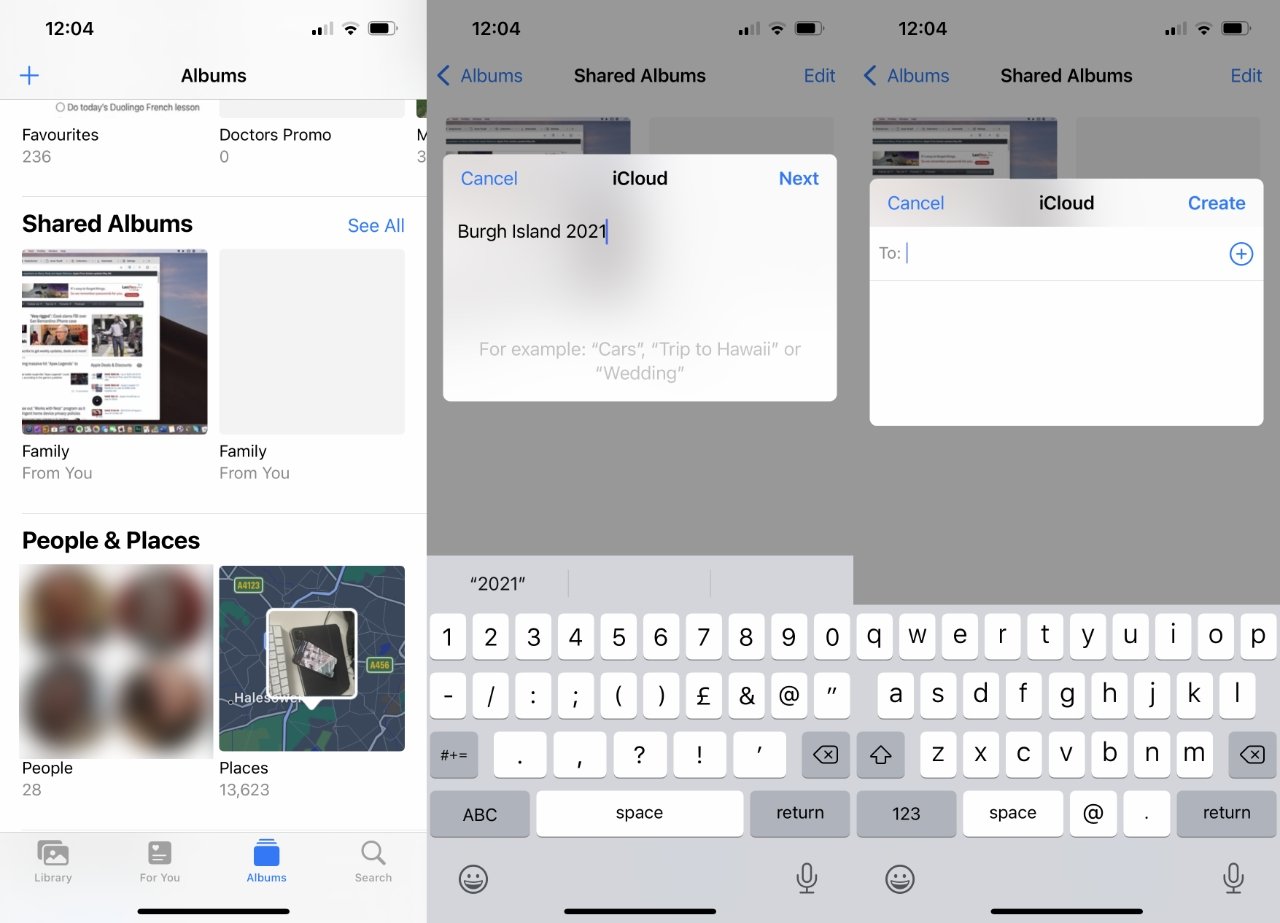
- Now in Photos, tap the + sign at top left
- Name your new album and tap Next
- Photos prompts you to send this shared album to someone, but ignore that, tap Create
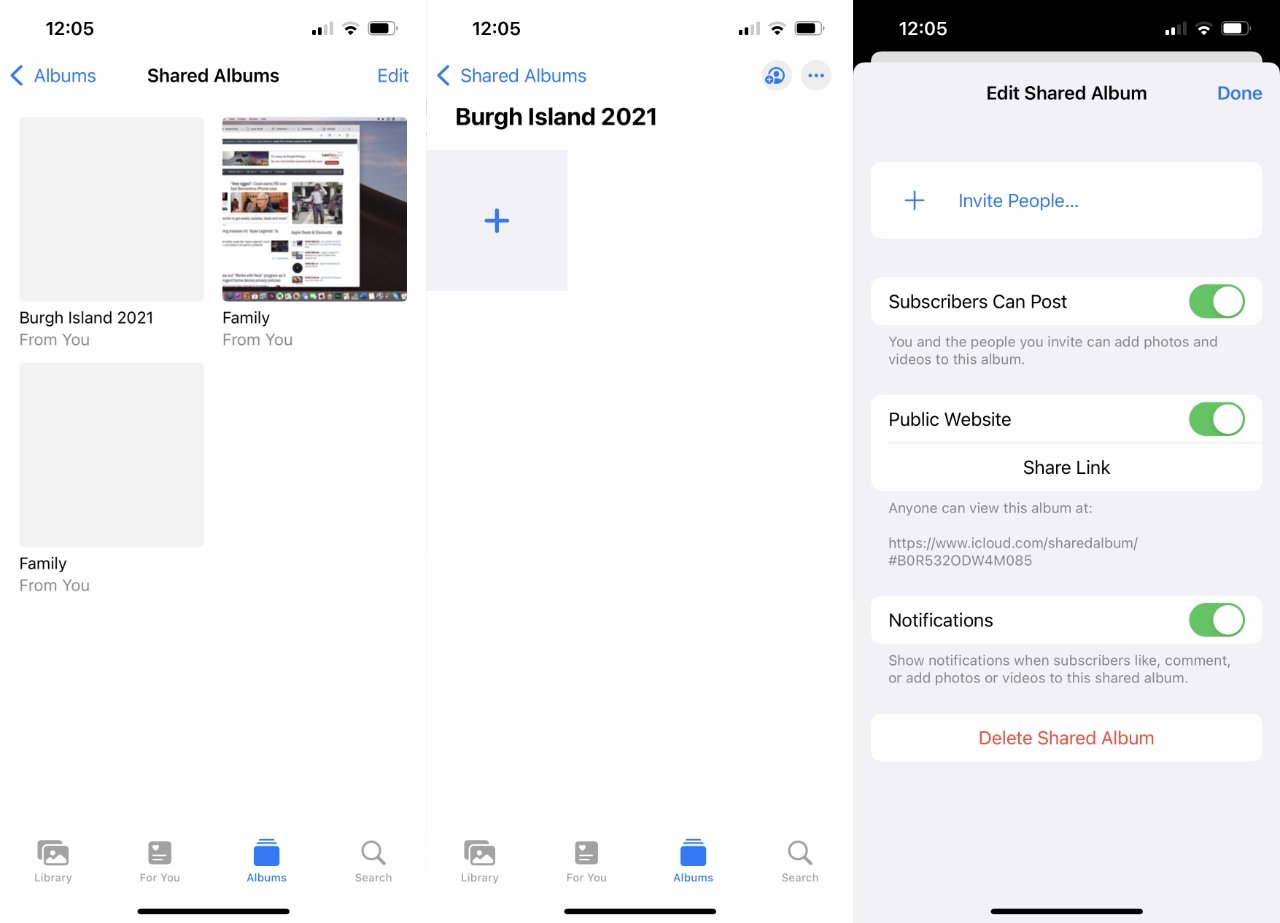
- Tap on your new, empty album from the list that appears
- In the album, tap + to add images; or
- go to other albums, select images and use the Share icon to move them to this album
- Tap the second from the right button at the top of the screen, a Contacts-like icon with a plus sign
- Decide whether Subscribers Can Post or not
- Choose whether you want to be notified if a subscriber posts an image
- Make sure Public Website is on
- When it is, a Share Link button appears, tap that
- Tap Done
If you don't see a + sign at top left in Photos, you're in an album. Tap on at top left to go back.
One reason iCloud Photos is confusing is that you're not always clear whether an image is on your device or in iCloud. If an image you're trying to share is not on your device, it will automatically be downloaded during this process.
What you end up with is again an iCloud.com link that you can send to anyone. When you're going through this, you do get the option to invite people from the page with the Public Website option.
If everyone you have to share with is in your Contacts list, you could do that. But generally it's quicker to just go through this, have a link put onto your clipboard, and then paste that somewhere convenient.
Adding more, and changing your mind
Now you've got a shared album, you can move other images into there. Or you can move images out.
It's the same with videos, too.
Every person who has the iCloud link will see the current contents of that shared album. Even when you've given them permission to post, they can't ever delete anything.
So this is a convenient repository for images and Apple has made it as easy as conceivable for your family and friends to get the photos you want them to.
You're still going to get phone calls, you are the IT support person in your extended family. But this will all help to cut those down and mean you won't swear off ever attending any reunion ever again.


 Malcolm Owen
 William Gallagher and Mike Wuerthele
 Christine McKee


 Marko Zivkovic