How To Beat The Final Boss In Kena: Bridge Of Spirits
The last boss in Kena: Bridge of Spirits ratchets up the stakes, forcing you to face a huge battle where you'll need all your abilities and skills to prevail.
The final boss of Kena: Bridge of Spirits increases the scale of the monsters you'll face with the biggest creature yet to stand against you. The fight itself, however, is a varied one, and is mostly about landing important shots with your bow, fighting smaller enemies, and avoiding damage. Luckily, this isn't too tough a fight as long as you keep moving and watching your back, because enemies will spawn around you and catch you with their attacks if you're not careful.
Here's everything you need to know to take on and bring down the final boss in Kena: Bridge of Spirits and finally lift the corruption from the village and its surrounding lands.
Note that this article contains spoilers for the final fight and a reveal that's crucial to the end of the game!
More Kena: Bridge Of Spirits Guides:
- How Long To Beat Kena: Bridge Of Spirits
- 13 Essential Tips & Tricks
- How To Solve The Fishing Shrine Puzzle
- Where To Find Every Spirit Mail
- Corrupt Taro Boss Guide
- Corrupt Woodsmith Boss Guide
- Mask Maker Boss Guide
- Warrior Boss Guide
- Hunter Boss Guide
- Corrupt Toshi Boss Guide
Abilities You Should Unlock Beforehand: Sprint Attack Heavy, Focus, Enter The Fray, Rot Hammer, Rot Arrow, Rot Bomb, Spirit Dash
Phase 1
When you first enter the battle against the final boss of Kena: Bridge of Spirits, you'll find yourself without the Rot to back you up--which means you'll lose several of your abilities, including the capability to heal yourself in the fight. Your main goal, then should be to avoid damage from the boss's big attacks, which can be tough with strikes that can cross the entire battlefield.
Primarily, you want to stay fairly close to the boss, as you can slip beneath it to avoid some of its attacks. First up, use Focus to fire arrows at the bubbling growth on its head. If you look around at the creature, you'll see there are similar weak points on its paws, legs, and sides, and you need to try to clear all of them. The one on its head is the easiest, and you can slip between its legs to get around to its sides and hit the growths there.
In the first part of the fight, the boss will hit you with melee attacks, and it has a big reach. One attack has it swiping horizontally across the battlefield, which you can dodge if you run quickly to the side, potentially jump over, or avoid by going in close and getting underneath it. There's also a vertical swipe it'll do that'll send ice ripping up through the ground at you, requiring you to dodge sideways. In both cases, Spirit Dash is a great move to quickly get you out of harm's way. If you see the boss rear up on its hind legs, get ready to jump--when it lands, it's going to send out a wave of energy across the ground in all directions that'll damage you.

Keep moving, dodging, jumping, and firing away with your spirit arrows using focus. You'll need to hit each corruption point on the boss's body two or three times to destroy them. The two in front, on its head and left paw (your right) are the easiest, so get those quickly. Then run to one side and try to hit one more of the pustules. That'll cause the boss to roar and suck you into the Spirit Realm, where you'll have to fight smaller enemies in a tighter arena.
You've seen these small enemies before, so just beat them the best way you know how, but try to do so quickly and without getting overwhelmed. The first wave will include some of the flying moth enemies that shoot energy at you, as well as melee fighters on the ground. In the second wave, those lizard-like creatures that spit energy balls will join the fray. Liberally use your spirit bombs and arrows to take out enemies from a distance and try to stick and move to keep from taking hits, as you won't have any chances to heal here.
Once you win this fight, a Spirit Gate will appear. Dash through and you'll face a tougher fight on the other side, which includes several small enemies and a Wood Knight. Again, this is a battle you've seen before, so keep your distance and knock out the smaller enemies quickly while avoiding the Wood Knight's attacks, particularly when it throws its club at you. You can jump right over that, but it hits hard if you're not ready. Target the Wood Knight's weak points to knock it off-balance and try to clean up as many enemies as you can, as fast as you can. Don't forget that your Spirit Dash is excellent for situations like this--it can knock the Wood Knight off-balance and do damage to it and anything else in your path. Spirit Bombs are also good for staggering the big enemy briefly and keeping it from attacking you.
Clear these creatures and a bubble will appear with some Rot inside. Smash it with melee attacks and you'll gain some of the creatures back, allowing you to destroy the Corruption on the Spirit Gate ahead.
Phase 2

You're now back in the boss's arena, but now it'll have a few new moves in its repertoire, and the edges of the arena will become much more dangerous. If the boss plows toward you and raises its arm, it's looking to grab you. It'll then throw you down against the grown, which will cause you to bounce way out to the edge of the arena. This whole area is corrupted and will kill you if you stand in it too long, so quickly Spirit Dash or roll clear so you don't die without realizing you're being killed. When the boss winds up for the grab, you can jump and use Focus to avoid the attack if you're unable to get out of the way.
The boss's other new move is to back up to the edge of the arena and draw in some pink energy, releasing it as a pink laser beam it'll sweep across the battlefield. You can either jump straight over this attack or Spirit Dash or block through it, just like other attacks of a similar color. Try to avoid getting cooked by it, in any case. With the Rot in tow, however, note that you can now heal using a couple of blue flowers on the edges of the arena.
Other than avoiding the new attacks, there's not much you need to worry about here. Keep using Focus to put arrows into the corruption on the boss's body. Destroy the rest of the pustules and you'll again be sucked into the Spirit Realm.
Instead of a fight, you'll find yourself in a light platforming area. Cross the rocks ahead and use the blue flower to shoot up to the next platform, noting that the rocks beneath you will fall away after you touch them in a few seconds. Keep moving up with the blue flowers until you can't anymore, then look out across the gap behind you. You'll see a flashing blue rock you'll recognize as one you can hit with your Spirit Bomb, but it's out of reach. To the right of it is a closed blue flower--to get it to open, you'll need to take a running jump off the platform you're standing on and shoot the flower in mid-air.
Once you're across the gap, use a bomb on the blue rock to create a path ahead. You'll have to rapidly shoot three more flowers while in the air to cross the gap beyond, but that'll take you to a stable platform and reward you with more Rot to add to your arsenal. That'll put you back at full strength with your abilities for the final phase of the fight.
Phase 3
Everything you've seen the boss do before is still on the table, but now, smaller enemies will wander in from the edges of the battlefield to distract you. At this point, you also can't damage the boss directly--you need the Rot's help, so fight the smaller enemies while avoiding taking damage to charge up your Courage as quickly as you can.
The boss will add a couple of new moves to its repertoire. It will sometimes roar when you're too close, creating a sonic boom around it that'll knock you away. It'll also leap away to the Mountain Shrine in the distance, leaving you to fight its minions. Finally, it'll rear up and charge itself full of purple energy, before releasing it as a series of lightning strikes around the battlefield. Following that, a series of smaller bombs will fall on the field and explode, creating waves that radiate outward, so you'll need to stay in the air as much as possible to avoid them.
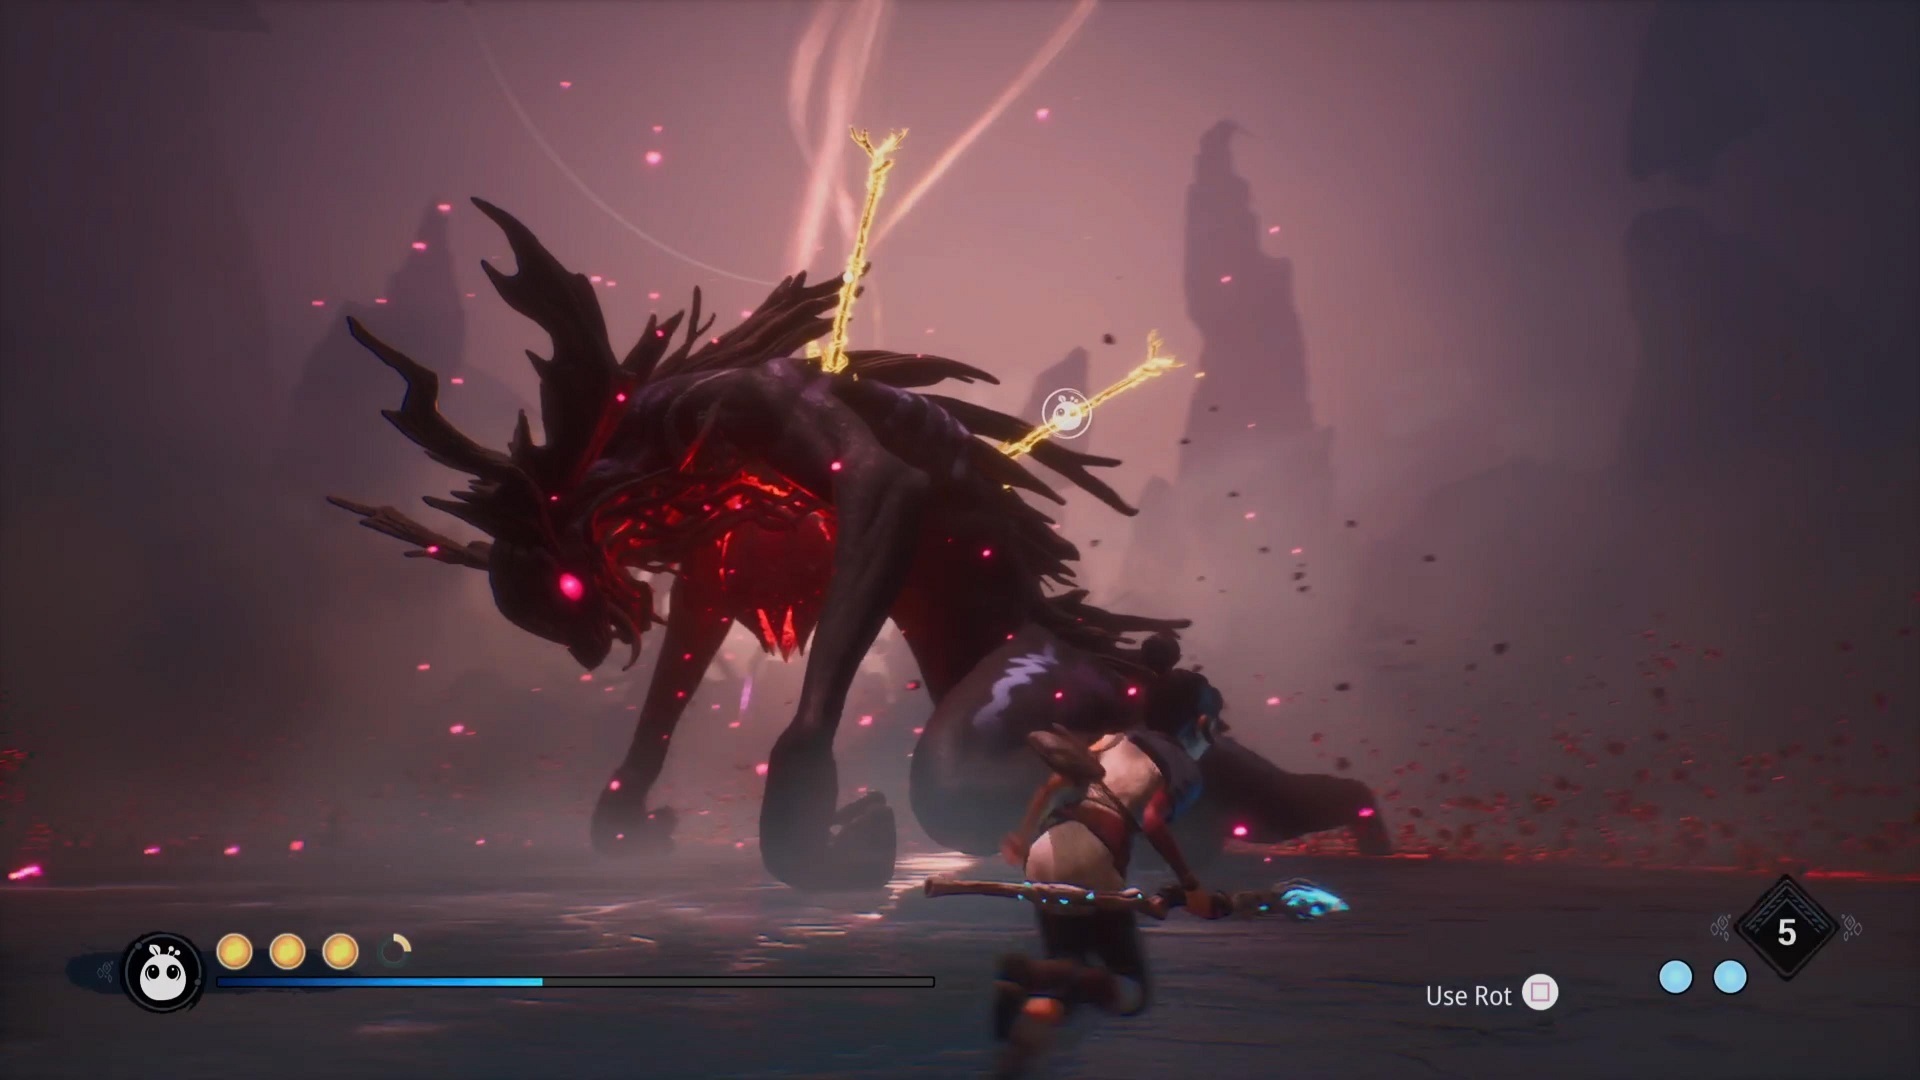
That last move, where the boss draws purple electricity to itself as it rears back, is what you want to see, however. When that happens, you'll notice several spears stuck in the boss's back will glow yellow while it charges the attack. With a full Rot charge, you can send the Rot to pull one of those spears out of the boss--that's how you damage the creature, and doing so will cancel the attack. You need to repeat the process four times to get all the spears out, so don't bother using Rot charges for anything but pulling out spears or healing if you need to.
Generally, this last part isn't too hard, because the boss will mostly rely on the big energy blast attack that leaves it vulnerable, giving you ample opportunity to damage it. Just keep cleaning up the small enemies quickly in order to keep them out of your face and build your Courage charges. When the last spear falls, use the Rot to clear the corruption on the boss's chest, allowing you to finally free it.
Got a news tip or want to contact us directly? Email news@gamespot.com
Join the conversation