

Once you’ve chosen the gripping technology, it must now be integrated properly into the collaborative cell. Since it is a collaborative cell, it can be tempting to simply hook the gripper up to the controller and just start programming it.
While this may be exciting, there are a few steps you need to go through before you can properly build a program to perform a task. Some of these steps you will go through while programming. Other steps must be completed before writing any lines of code. They will help you make your final application safer and more robust.
Emergency Stops and Power Failures
Before you power up the gripper and start programming with it, an important question to ask is how you want to manage power failures and emergency stops. These are the cases during which the gripper is most at risk of dropping the part, other than when the part slips due to a poor grip.
Power loss and emergency stops may occur at any time, and all possible cases should be considered in order to prevent material damage and reduce the risk of injuries.
Power loss can also occur with the gripper alone due to an issue with a cable or connector.
In the event of a power failure to the entire cell or an emergency stop, the power supplied to the robot arm is cut, making it come to a quick stop. This can generate high decelerations if the arm was moving fast. The gripper is then at risk of dropping the part or letting go of it with high velocity.
You should think about what should happen to the gripper in case of an emergency stop. Should it lose power completely or simply halt its motion?
This depends on how the gripper behaves during a power loss. If the gripper is self-locking, losing power while a part is grasped will likely not cause it to be dropped. It also depends on the type of part that is gripped. The questions below will help you assess the risks in the event of a power failure.
- What is the part’s weight?
- What is the highest speed the robot arm can reach during the application?
- Does the part have sharp edges?
- What is the risk of damage or injury if the part is dropped?
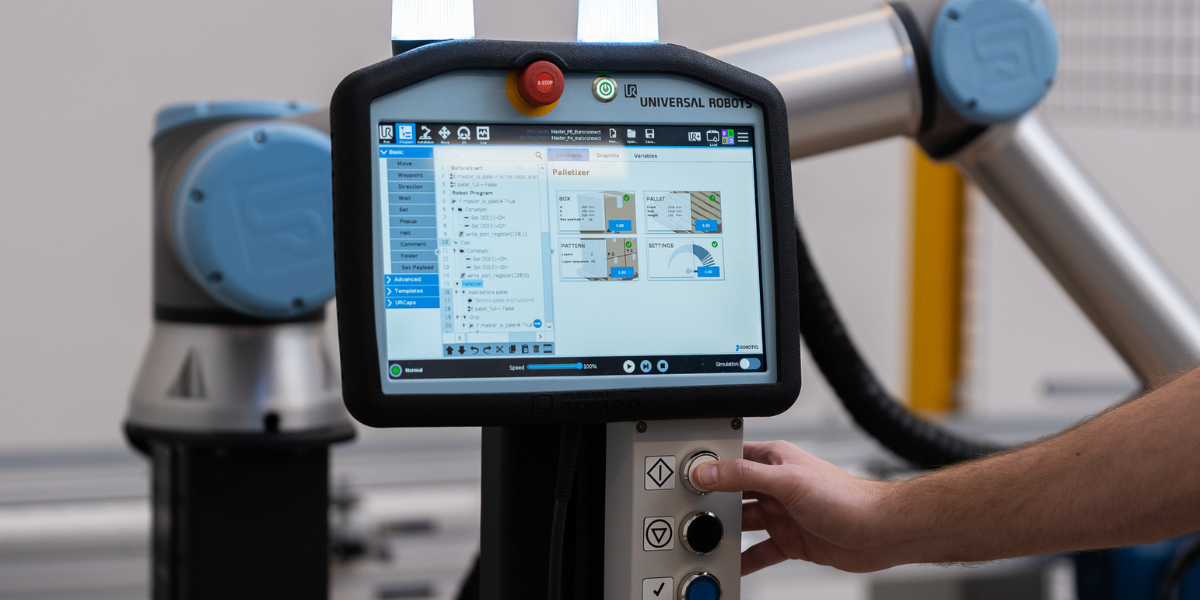
If you want the gripper to lose power when the robot controller’s emergency stop button is pressed, there are solutions. First, confirm that the gripper has an emergency stop switch with the manufacturer. If the gripper does not have one, you can configure its power supply to an output (I/O) of the robot controller. You can set it so that the power is cut to the gripper when the emergency stop button is pressed. This procedure may differ depending on your gripper and robot controller type, but it should allow you to manage the emergency stop from only one point: the controller.
It would also be a good practice to have the part’s center of gravity located between the fingers, or as close as possible to being between the fingers. This will reduce the moment on the part in the event of a sudden stop of the robot arm, diminishing the risk of the part being ejected from the grasp.
.jpg?width=640&name=Dual-2F85-UR-(1).jpg)
Mechanical Installation
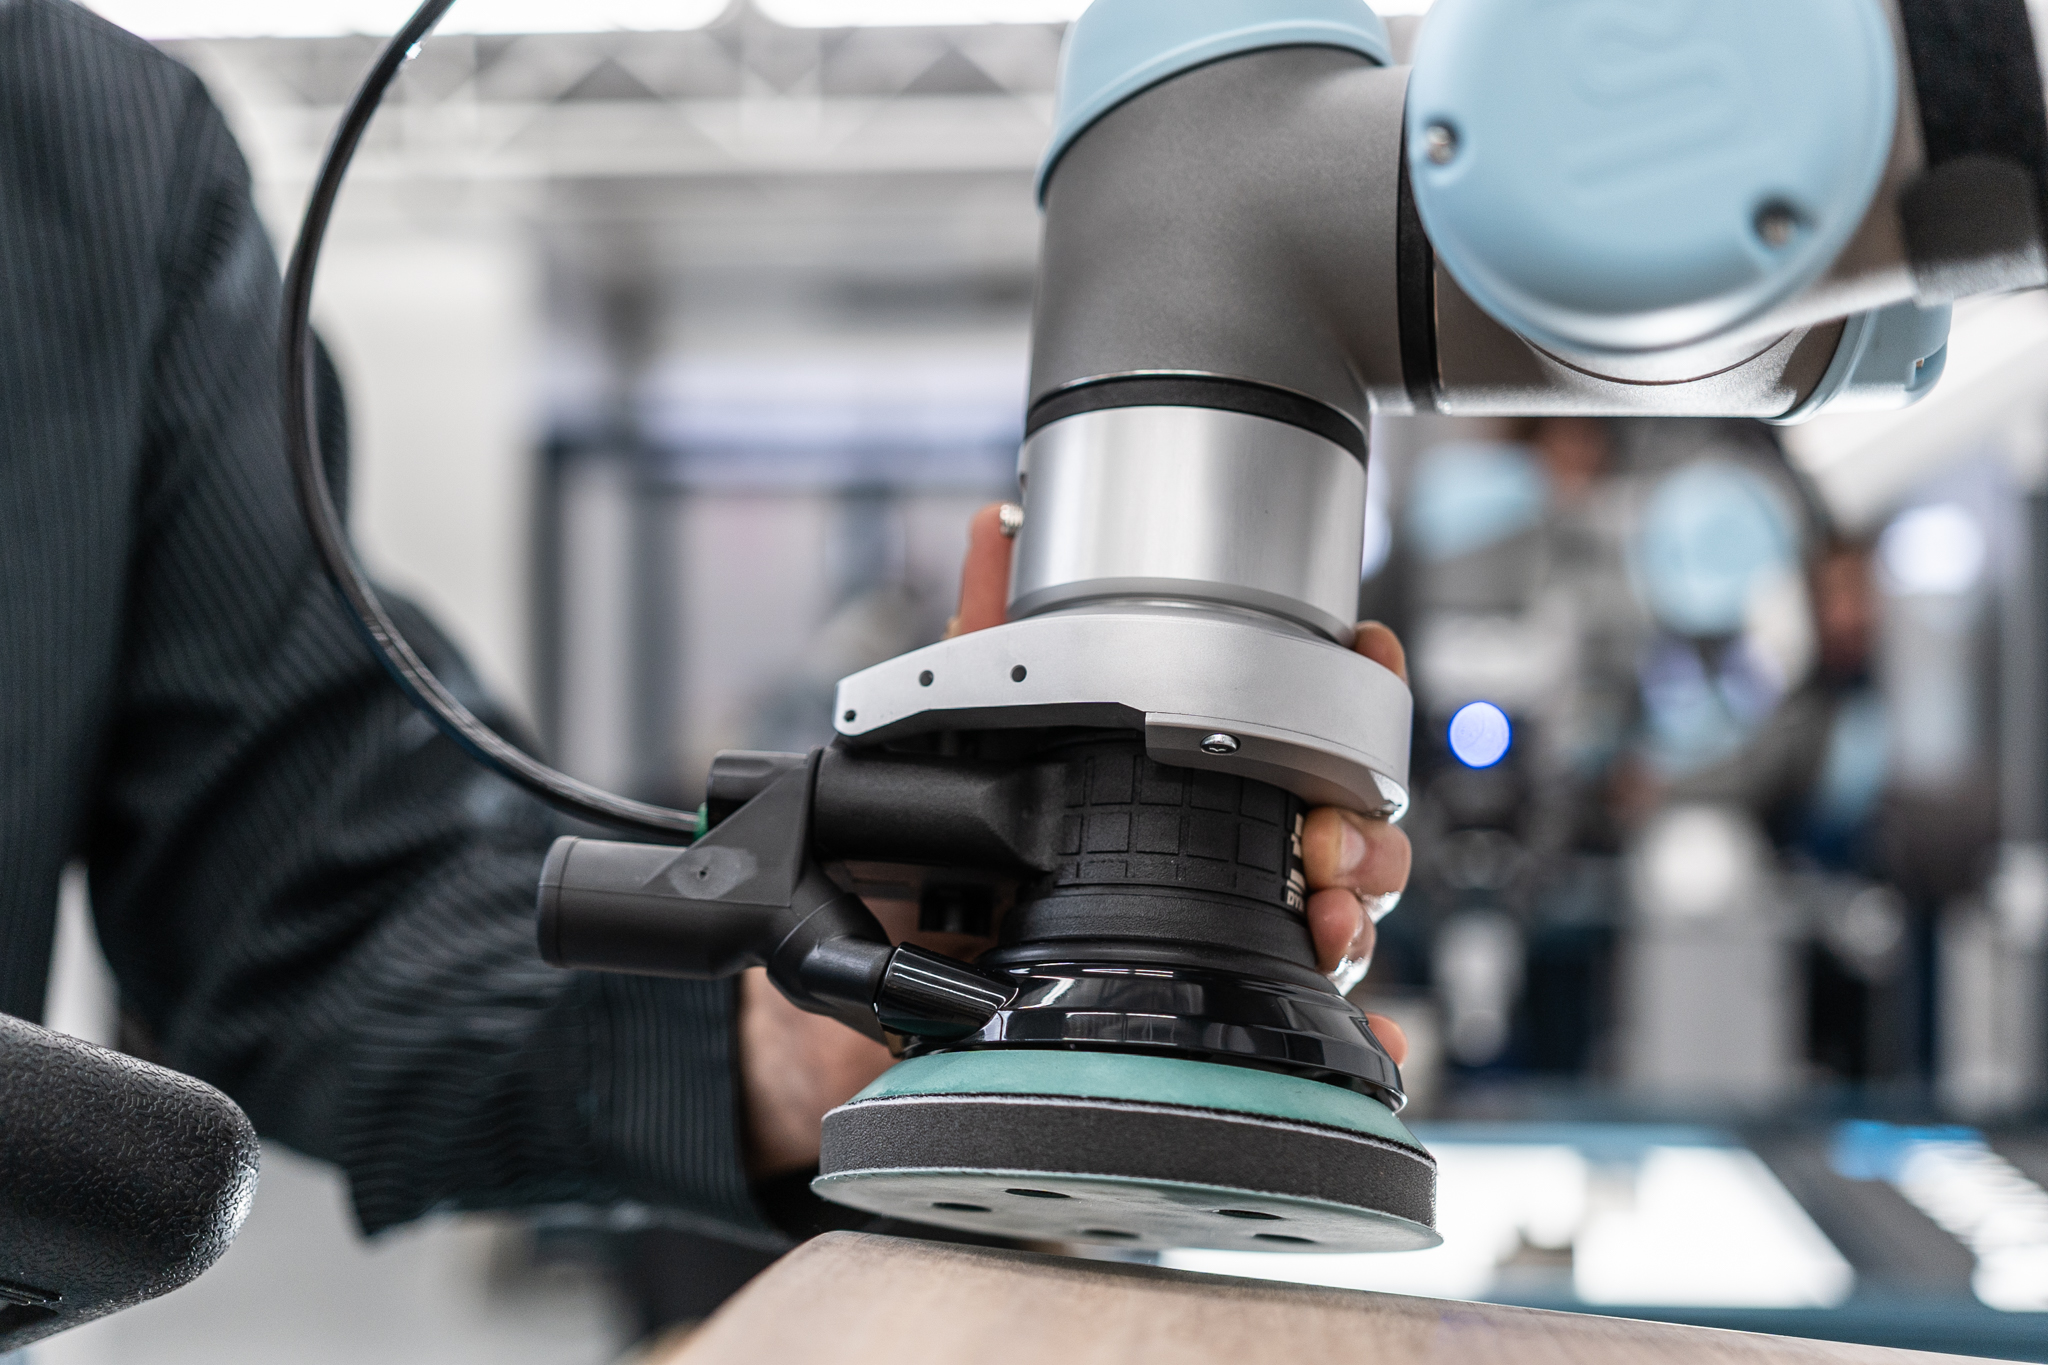
When mounting the gripper on the robot arm, estimate the robot’s motion and wrist orientation throughout the application. This will help you predict the best tooling orientation in regards to the robot arm. It can also provide guidance on how the gripper should be mounted on the robot arm. What would be the best wrist orientation for your gripper to perform its task?
The gripper can easily be oriented using the robot’s last joint. It is also possible to angle the gripper compared to the robot’s tool flange. An adapter plate can be designed to offset the gripper on the tool flange.
This procedure requires care and attention when setting the tool center point (TCP) and center of gravity, but it can facilitate the programming of a given application. It can, for instance, ease the robot’s motion if the gripper has to insert a part in a place that is hard for the robot arm to reach.
Cable Management
Once the gripper is mounted on the arm, you will need to wire it to the controller or PC/PLC. You will then have to deal with cable management, a step that is often overlooked. Some collaborative robots are designed to have cables running through them or have a tool output at the wrist or forearm.
These features are interesting if they fit your gripper’s power requirements and communication setup. If they do not fit, cable management will have to be addressed. Keep in mind that there are some products on the market for this purpose, but you can also use a custom one.
Regardless of the solution, when cable management has to be performed, the cables are fixed along the robot arm. Between this fixed section and the end-of-arm tooling, you should leave a section of unsecured cable to allow wrist motion and rotation. This is the portion of cable that will undergo the greatest stress. A wide range of motion can be performed at the wrist because robot arms often have three joints placed close to one another, creating the robot wrist.
Excess cable should be left in order to allow this motion to take place without pulling and applying stress on the cables. Failing to leave enough excess cable can cause extensive pulling and twisting stress on the cable, which can damage both the cable and the connectors.
Too much excess cable may cause it to get tangled in the tooling or even in the robot’s environment. Check that you’ve properly prevented this situation before you start programming the application and double-check during the programming step.
Tool Center Point
Once the gripper is installed and wired on the robot, it’s important to set the tool center point (TCP) and center of gravity correctly. As some robot motion can be performed in regards to the TCP, it must be set properly before you start programming.
When programming the robot’s motion for the application, make sure the end-of-arm tooling does not interfere with the work plane, other machines, fixtures, etc. Also consider these things regarding motions when the gripper picks the part.
With some collaborative robots, the center of gravity must be set so that the robot will consider the tool that is attached. This will prevent the robot from mistaking the gripper’s weight for the part’s weight when applying force. Take the time to get the right data from the supplier or, if it is not available, to calculate it as precisely as possible.
When the gripper closes to pick up an object, make sure the tips of the fingers do not collide with the work plane or other fixtures. This is especially likely to happen with grippers that have angular motion of the fingers.
Approach and Retreat Positions
When picking and moving objects with the robot arm, it is good practice to include an approach and retreat position. Those positions can, for instance, be at a certain height above the part to be picked. They ensure that the robot will clear the work plane or table when moving the object from one station to another. These positions should be used wisely to prevent any collisions with the robot’s environment, tools, tables, etc.
Depending on the object’s geometry and the tasks to be performed, a specific position can be used to prepare for object picking. This is part of the gripping strategy and should be considered before designing fingertips and fixtures.
Multiple Grippers
To reduce the cycle time even more, some robot arms will support having two or more grippers mounted on them. This is mostly seen in machine tending applications where the machine’s cycle time is quite short. Having multiple grippers means one gripper can pick up the blank part to be machined, the other gripper can pick the machined part from the machine and the first gripper can place the blank part in. While the machine performs its task, the second gripper can drop the machined part in the desired area and pick up another blank. This speeds up cycle times and can increase productivity.
When considering whether to implement multiple grippers, more factors have to be pondered. Verify the way grippers are controlled when two or more of them are connected to the same controller. Also, verify the power supply capacities for such a setup. A key element to take into account is how the grippers will be mounted on the tool flange. Can the supplier provide you with one? Some will offer packages for multi-gripper applications. If this is not the case, you will have to design and fabricate a mounting plate.
Remember, the weight of both grippers and their mounting plate should fit the robot arm’s payload. It must be able to pick up the objects without exceeding its capacity. You should also verify the gripper’s own payload in regards to the parts to pick.
From emergency stops to picking strategies to collision avoidance, there are a lot of factors to think about when integrating the gripper to your robot cell. When you program the robot application, you may be tempted to go with your intuition. You should however keep the above items in mind. They will help you design programs that are robust, effective, safe and truly ingenious. Although you may already have thought of some of those steps when programming, it’s worth double-checking. With time, this list will become something you automatically consider when integrating a gripper to a collaborative cell.


Leave a comment